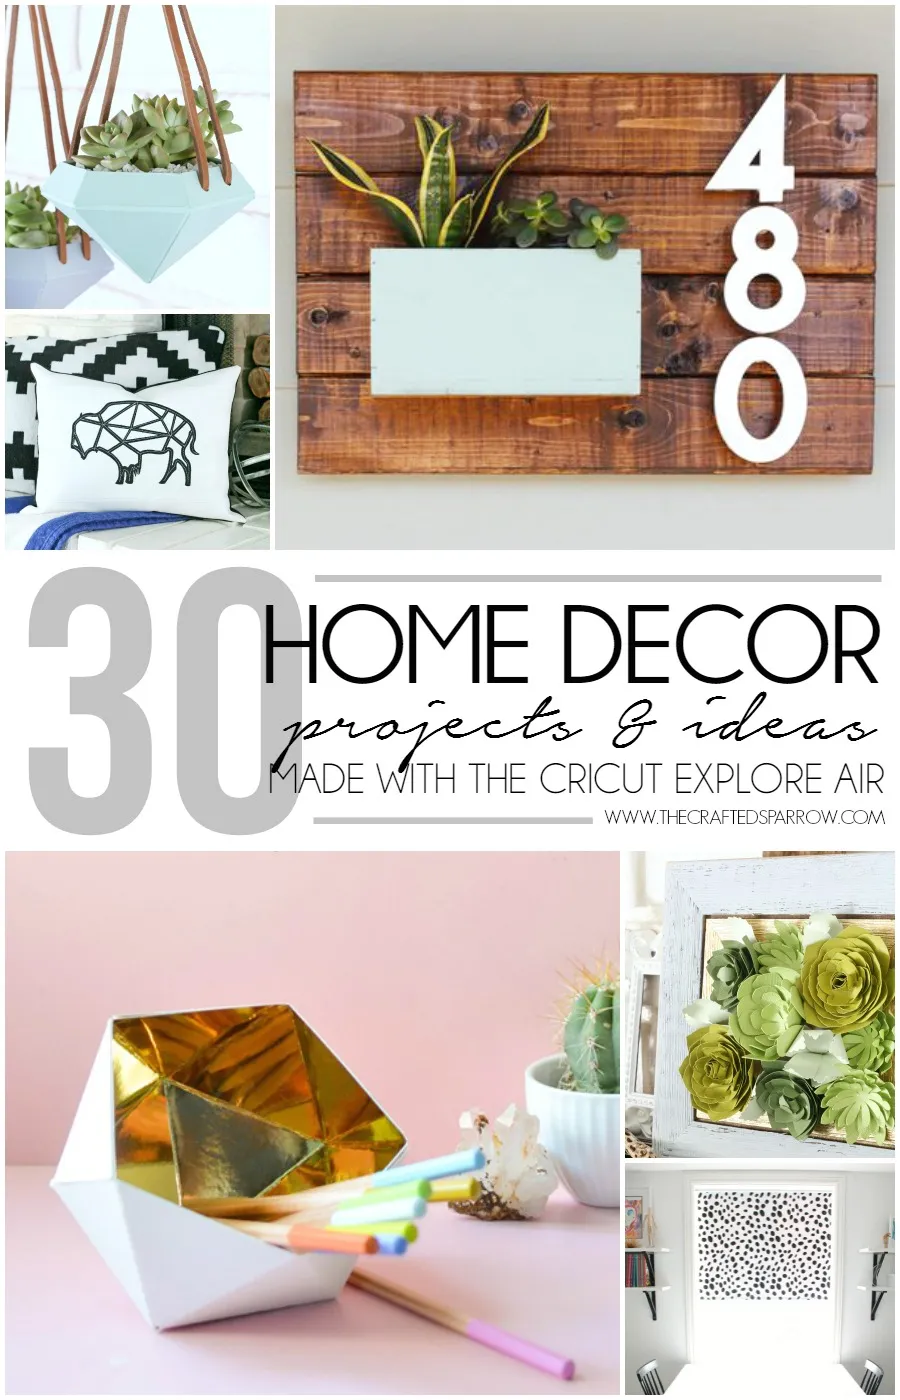
What is Cricut and Its Role in Kitchen Decor
The Cricut machine has revolutionized the world of DIY and crafting, making it easier than ever to personalize your home decor. This incredible machine, essentially a sophisticated cutting plotter, uses a blade to precisely cut a wide range of materials. From paper and vinyl to fabric and wood, the Cricut can handle it all, opening up a world of creative possibilities. When it comes to kitchen decor, the Cricut is an invaluable tool, enabling you to create custom designs that reflect your personal style and add a unique touch to your cooking and dining space. Whether you’re aiming for a rustic farmhouse look, a modern minimalist vibe, or a whimsical aesthetic, the Cricut empowers you to bring your vision to life. With its precision and versatility, the Cricut allows you to effortlessly create everything from wall art and labels to signs and stencils, transforming your kitchen into a space that is both functional and aesthetically pleasing. The ability to customize every detail makes the Cricut a game-changer for anyone looking to elevate their kitchen decor game.
Understanding Cricut Machines and Tools
Different Cricut Machines Available
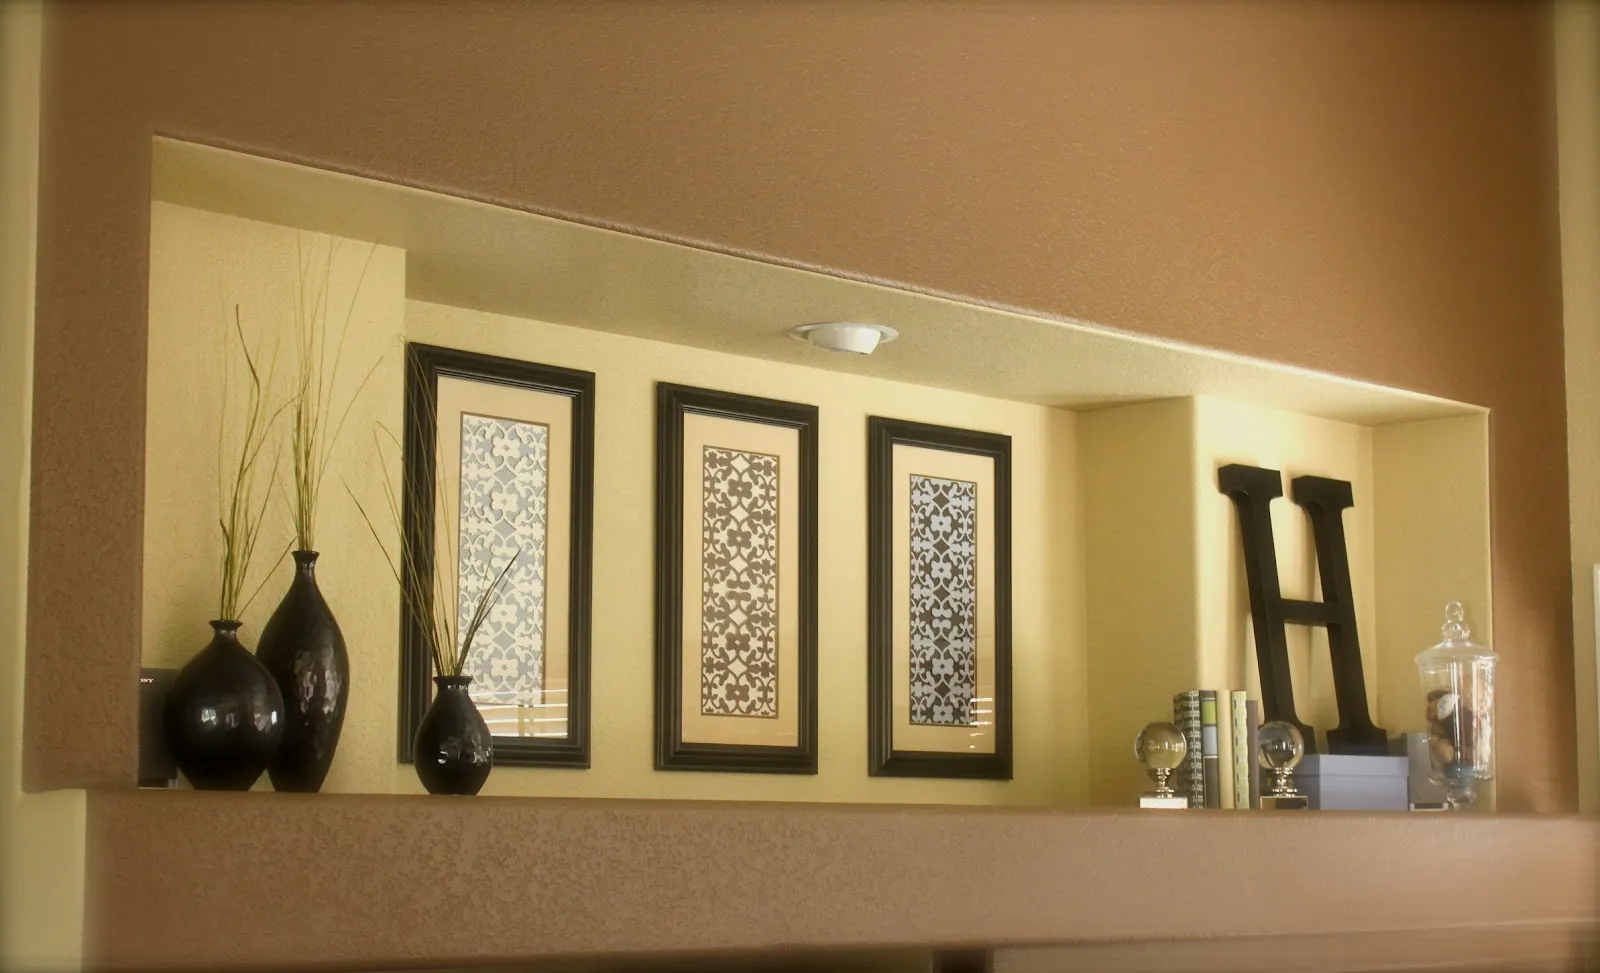
Cricut offers a variety of machines, each designed with different features and capabilities to cater to a range of crafting needs and skill levels. The Cricut Joy is the smallest and most portable option, ideal for quick and easy projects like labels and cards. The Cricut Explore series is a mid-range option, perfect for beginners and those looking for versatility in their projects; these machines can cut a wide range of materials and are known for their user-friendliness. The Cricut Maker is the top-of-the-line machine, offering the most advanced features and the ability to cut even the toughest materials such as leather and wood; it is the machine of choice for serious crafters. When choosing a Cricut machine, it’s crucial to consider the types of projects you intend to create, the materials you plan to use, and your budget. Researching the specifications and comparing the features of each model will help you make an informed decision and select the best Cricut machine for your kitchen decor endeavors, ensuring you have the right tool for all your creative projects.
Essential Tools and Accessories
Alongside the Cricut machine itself, a range of tools and accessories are essential for successful kitchen decor projects. A cutting mat is a must-have, providing a stable surface for your materials and protecting your machine’s blade; different mats are designed for various materials, so it’s important to select the correct one. Weeding tools, including a hook and tweezers, are necessary for removing excess material from your designs, ensuring clean and precise cuts. A scraper helps to adhere your vinyl or other materials to your cutting mat and also assists in transferring designs to your project surface. Transfer tape is crucial when working with vinyl, allowing you to easily move intricate designs from the backing to your desired item, like a wall or container. Other helpful accessories include a spatula for lifting delicate cuts, a burnishing tool for smoothing vinyl onto surfaces, and various blades for different materials. Investing in these essential tools and accessories will significantly enhance your crafting experience, making your Cricut projects more efficient, accurate, and enjoyable. Having the right tools at your disposal is just as important as having the right machine, ensuring your kitchen decor creations are beautifully executed.
Planning Your Cricut Kitchen Decor Projects
Brainstorming and Idea Generation
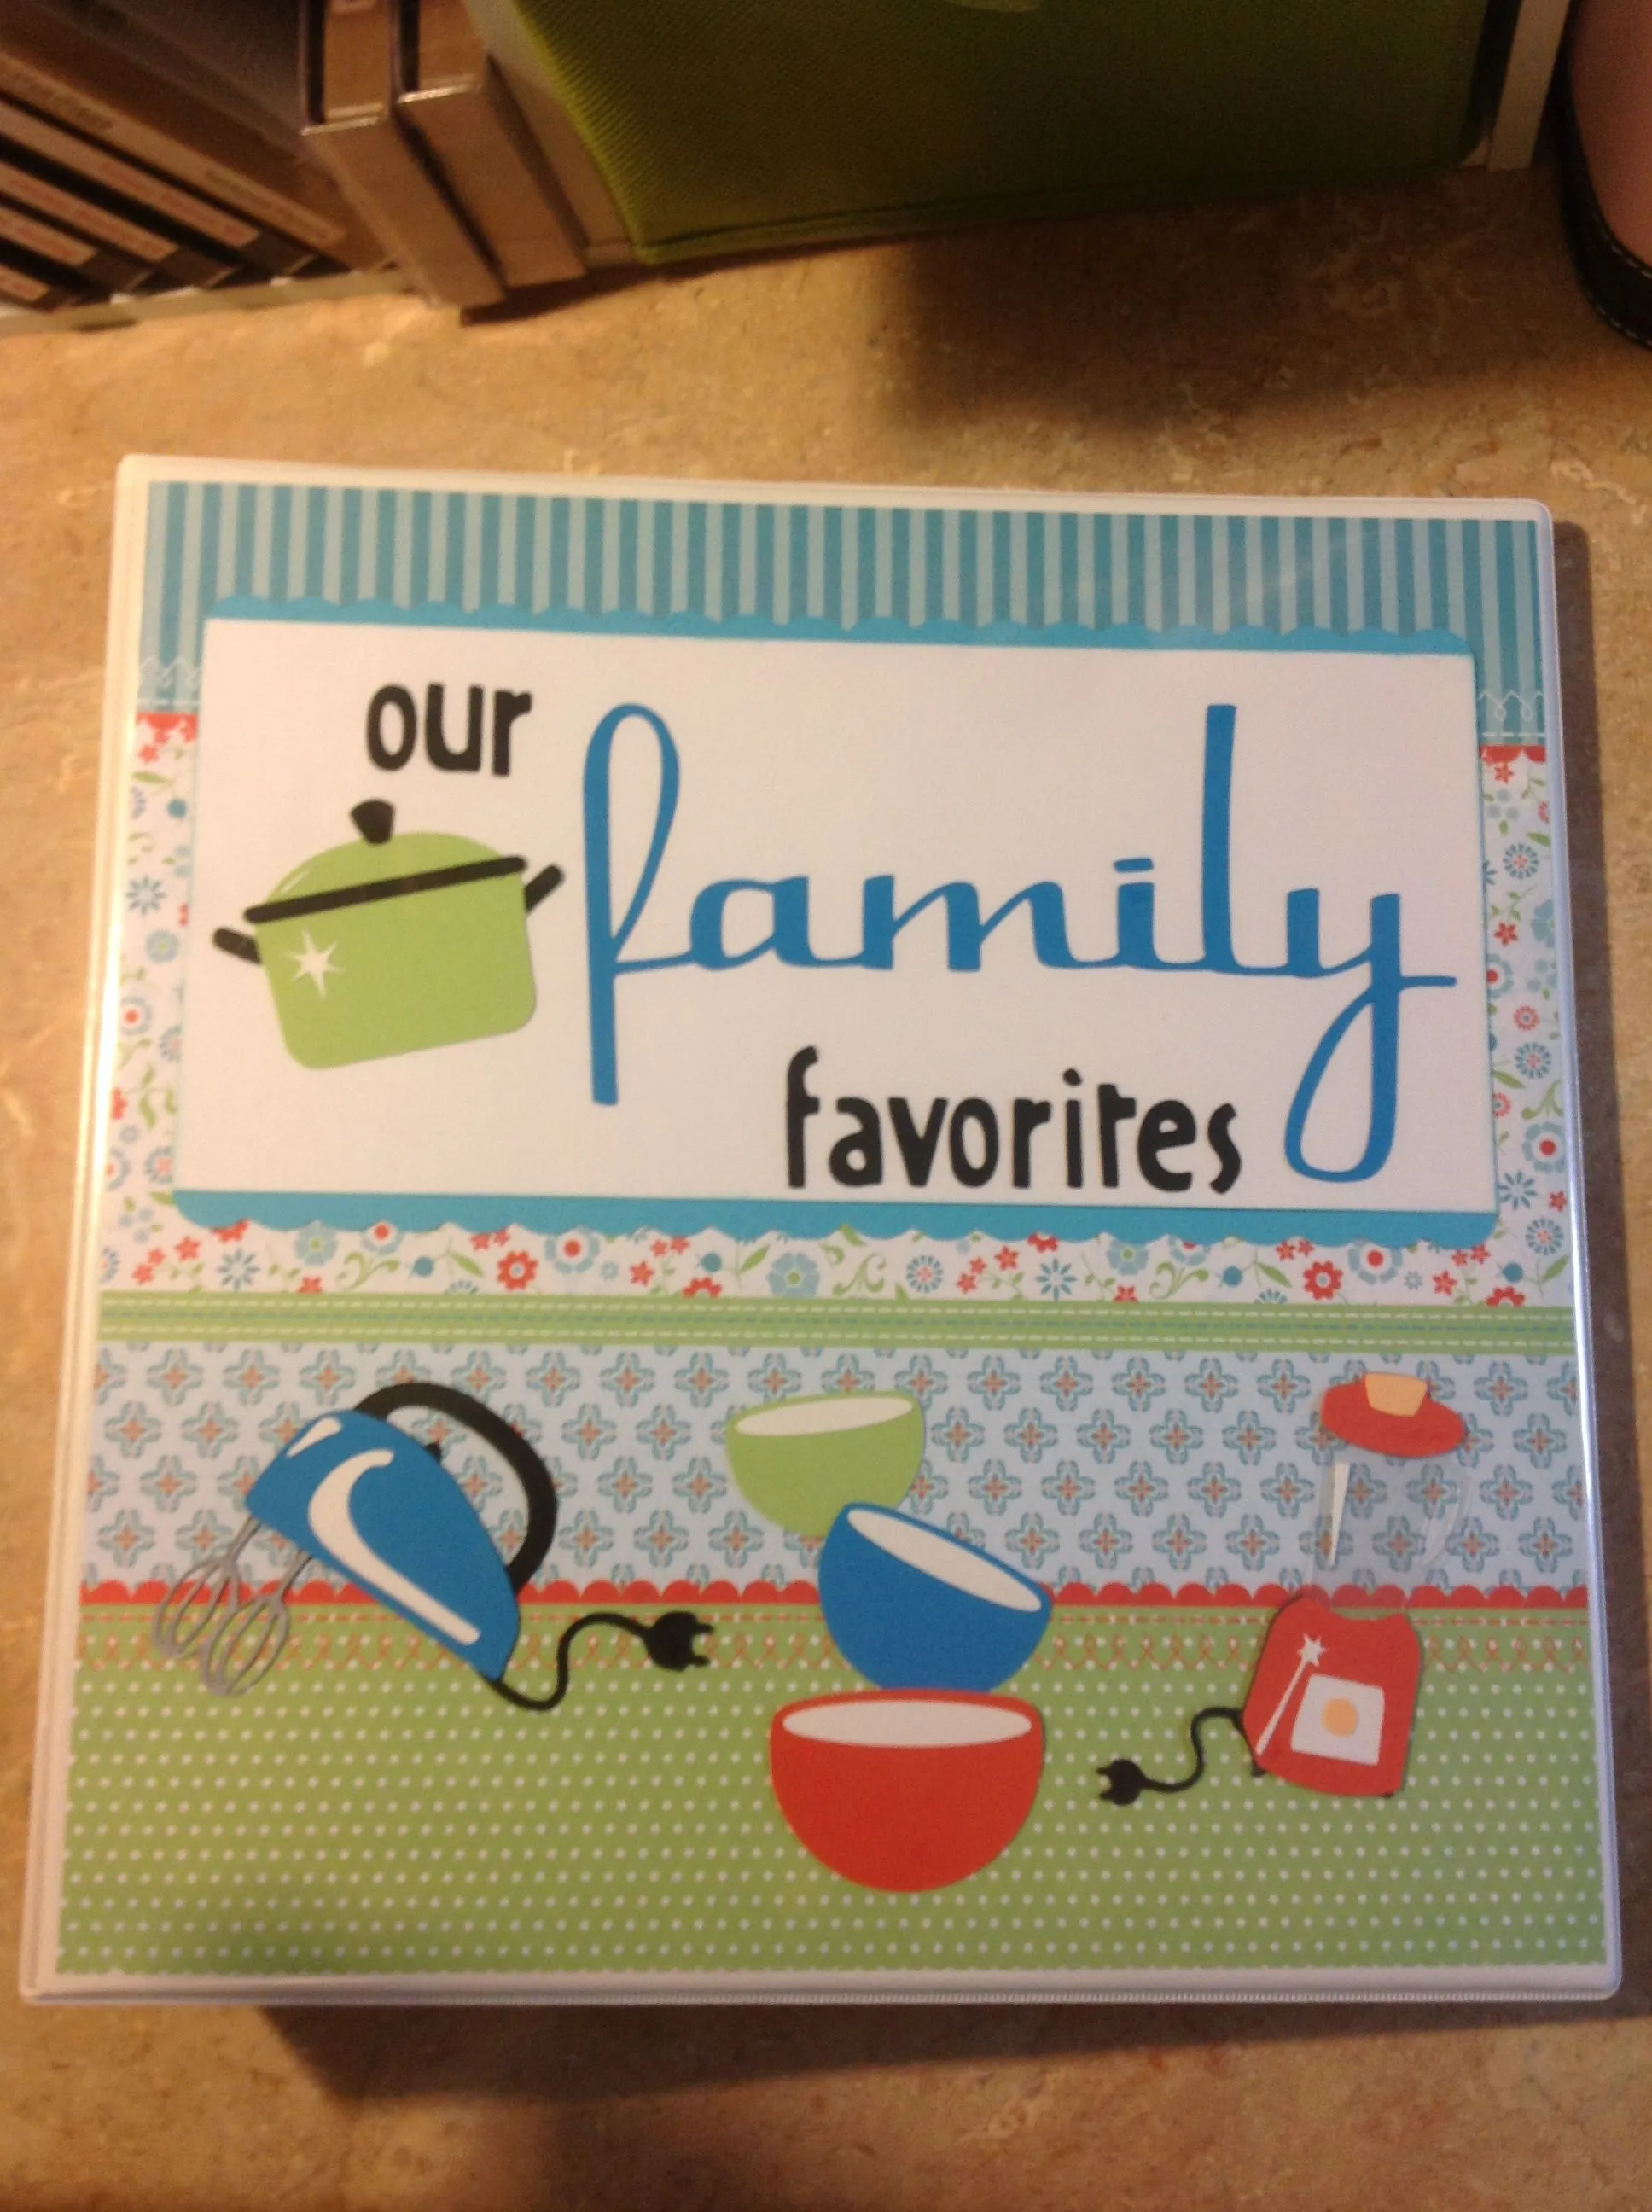
Before you even touch your Cricut machine, it’s vital to brainstorm and generate ideas for your kitchen decor projects. Start by considering the overall style and aesthetic of your kitchen, whether it’s modern, rustic, minimalist, or eclectic. Browse online platforms such as Pinterest, Instagram, and Cricut Design Space for inspiration, collecting ideas for wall art, signs, labels, and other decorative elements that resonate with your style. Think about the specific items in your kitchen that you’d like to personalize or enhance, such as spice jars, canisters, storage containers, or even appliances. Consider the functionality of your projects; for example, creating labels for organization or designing a custom cutting board. Sketch out your ideas or create mood boards to visualize your concepts and refine your project goals. Don’t be afraid to experiment with different ideas, colors, and materials to find what best suits your kitchen and personal preferences. Careful planning and idea generation will set a strong foundation for your Cricut projects, ensuring a cohesive and well-executed final result that transforms your kitchen into a space you love.
Choosing Colors and Materials
The selection of colors and materials is a critical step in planning your Cricut kitchen decor projects, as it significantly impacts the overall aesthetic and durability of your creations. When choosing colors, consider the existing color scheme of your kitchen and select hues that complement and enhance the space. Opt for colors that create a cohesive and inviting atmosphere; you might select neutral tones for a minimalist look or vibrant colors to add personality. For materials, the possibilities are vast. Vinyl is a popular choice for labels, wall art, and signs, as it’s available in a wide range of colors and finishes, and it’s easy to apply. Heat transfer vinyl (HTV) is perfect for personalizing fabric items like dish towels or aprons. Cardstock is excellent for creating decorative elements like paper flowers or embellishments. Other materials to consider include wood, canvas, and adhesive foils. When selecting materials, consider the longevity and maintenance requirements, particularly for items in a kitchen environment where they may be exposed to moisture and heat. Choosing the right colors and materials will not only ensure your decor looks great but also that it withstands the rigors of daily use in the kitchen.
Kitchen Decor Project Ideas with Cricut
DIY Wall Art and Quotes

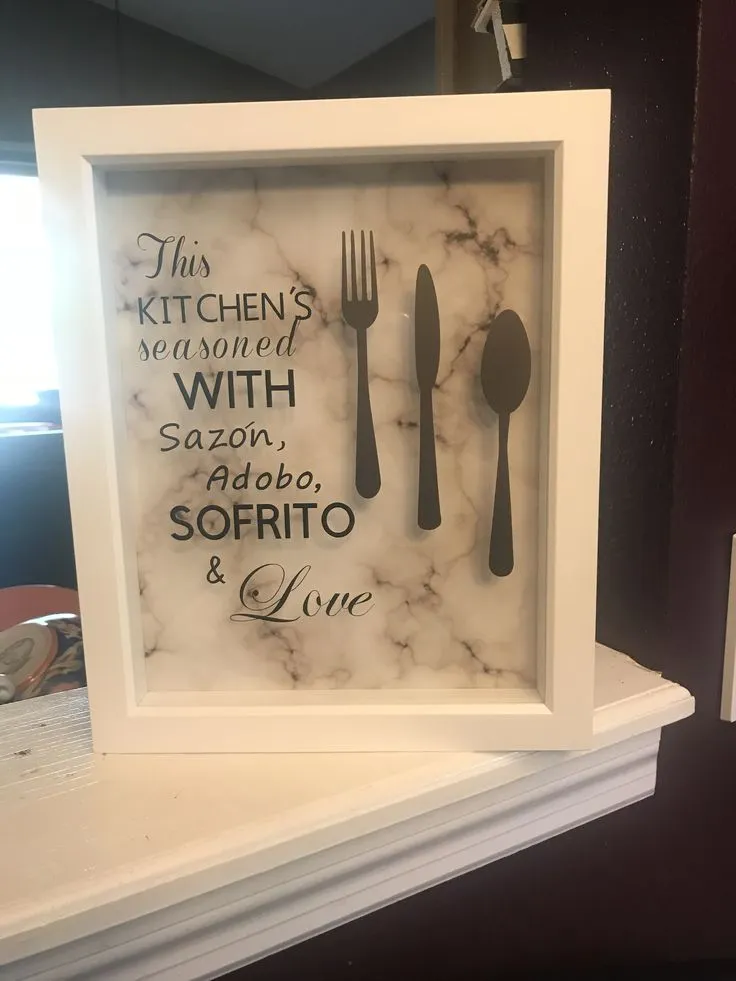
Transform your kitchen walls into inspiring showcases with DIY wall art and quotes created using your Cricut machine. Design custom quotes, sayings, or even your favorite recipes in Cricut Design Space, and cut them out using vinyl. Apply the vinyl designs to a blank canvas, wooden board, or directly onto the wall for an instant style upgrade. You can also create intricate designs using cardstock to craft beautiful paper art pieces; consider using floral or geometric patterns that complement your kitchen’s decor. For a more personalized touch, add family names, kitchen-themed illustrations, or humorous sayings that reflect your personality. Wall art is a fantastic way to add personality, color, and inspiration to your kitchen space. Choose designs that match your kitchen theme, whether it’s a cozy farmhouse style, a sleek modern look, or a vibrant bohemian aesthetic. The possibilities are endless, and with the Cricut, you can create unique and personalized wall art that adds character and charm to your kitchen. A well-placed piece of wall art can become the focal point of your kitchen, creating a welcoming and visually appealing atmosphere for both you and your guests.
Creating Custom Kitchen Signs
Custom kitchen signs add a touch of personality and style to your cooking and dining space. Using your Cricut, you can design and create signs with phrases, quotes, or even your family’s name. Start by selecting a material such as wood, metal, or even a chalkboard, then create your design in Cricut Design Space. Cut your design from vinyl or use stencils to paint your text or images onto the sign. You can design signs for various purposes, such as displaying the menu of the day, sharing a favorite recipe, or simply adding a decorative element. Consider creating signs that complement your kitchen’s theme, whether it’s a rustic farmhouse style, a modern minimalist aesthetic, or a cheerful, colorful vibe. Use different fonts, colors, and embellishments to personalize your signs. For a more rustic feel, try using distressed wood and vintage-inspired fonts. For a modern look, opt for clean lines and bold colors. The addition of custom kitchen signs is an excellent way to express your creativity and make your kitchen feel more inviting. These personalized signs add a unique touch that reflects your style and makes your kitchen a place you love spending time in.
Personalized Labels and Organization
One of the most practical and visually appealing ways to use your Cricut in the kitchen is for creating personalized labels and enhancing organization. Design custom labels for your pantry, spice jars, storage containers, and canisters using vinyl or other adhesive materials. Choose fonts and designs that match your kitchen’s aesthetic, ensuring that your labels are both functional and stylish. With a Cricut, you can create perfectly sized labels that fit any container, from large storage bins to tiny spice jars. This helps you to easily identify ingredients, track expiration dates, and keep your kitchen clutter-free. Consider designing labels with clear, easy-to-read text. You can also use different colors or fonts to categorize items or to create a more visually appealing look. Labeling is an effective way to streamline your kitchen workflow, making it easier to find ingredients, reduce food waste, and maintain an organized and efficient cooking space. When everything is labeled and in its place, your kitchen becomes more functional, organized, and enjoyable to work in. Cricut makes the entire process easy and fun.
Designing and Cutting Stencils
Cricut machines are ideal for designing and cutting stencils, which can be used to create a wide range of decorative elements in your kitchen. Stencils can be used to add patterns to walls, create designs on fabric, personalize wooden signs, or add details to various kitchen items. In Cricut Design Space, you can choose from a vast library of pre-designed stencils or create your own custom designs. Select your material, which could include stencil vinyl, acetate sheets, or even cardstock. Once your design is cut, you can use the stencil to apply paint, create etched designs, or even decorate with other mediums. For example, you might use a stencil to add a pattern to a plain backsplash, create a custom design on a cutting board, or embellish your kitchen linens. Stencils allow you to create complex designs with ease, opening up a whole world of creative possibilities. With a Cricut, you can personalize your kitchen items to perfectly match your decor. The ability to create precise and repeatable designs makes the Cricut an excellent tool for any kitchen decor project that requires stenciling.
Fabric and Textile Cricut Projects
The Cricut machine opens up a whole new realm of possibilities for crafting fabric and textile projects to enhance your kitchen decor. From dish towels and aprons to placemats and oven mitts, you can personalize your kitchen textiles with custom designs and patterns. Use heat transfer vinyl (HTV) to apply text, images, or patterns to fabric items, ensuring they are heat-resistant and durable. This is perfect for personalizing dish towels with humorous quotes or family names, creating unique aprons with custom designs, or adding festive patterns to your placemats. You can also use the Cricut to cut fabric for projects like kitchen curtains, pot holders, or even fabric wall art. For more complex fabric projects, you can use the Cricut Maker with its rotary blade to cut fabric with precision, perfect for creating intricate designs. Experiment with different fabrics, colors, and designs to find a style that suits your kitchen decor. Personalizing your kitchen textiles with Cricut projects not only adds a unique touch to your space but also allows you to create functional and stylish items that reflect your personal style. These projects can also make excellent gifts for family and friends.
Step-by-Step Guide to Cricut Kitchen Decorating
Designing Your Project in Cricut Design Space
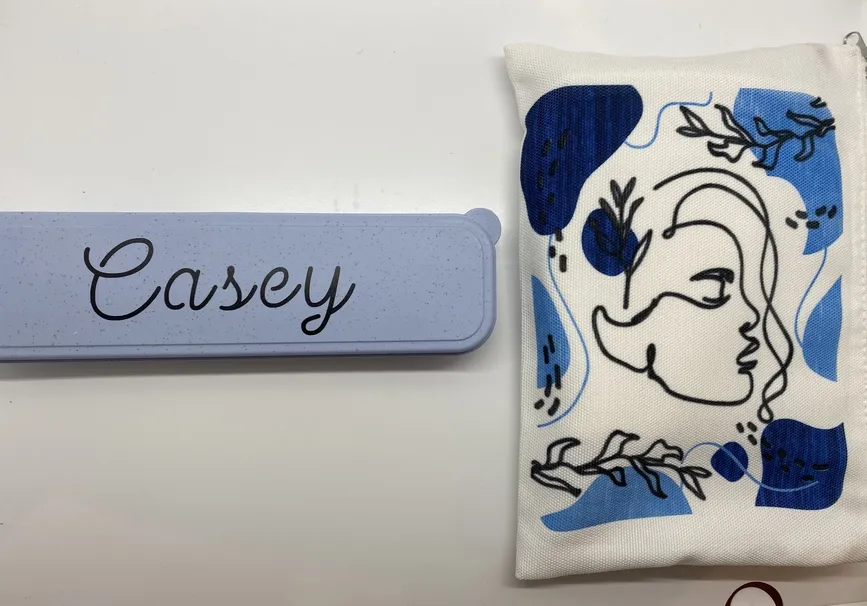
Cricut Design Space is your digital canvas for designing kitchen decor projects. Start by opening the software and selecting the type of project you want to create. Choose from a variety of templates, images, and fonts, or upload your own designs. Use the tools in Design Space to size, position, and customize your design to your exact specifications. Consider the dimensions of your chosen item, whether it’s a wall, a container, or a fabric piece. Ensure that your design fits the space appropriately. You can also use layers and grouping to organize different elements of your design, making it easier to manage complex projects. Design Space also allows you to simulate how your design will look before cutting, so you can make any necessary adjustments. Spend time experimenting with different fonts, colors, and arrangements to find the perfect design. Once you are satisfied with your design, you can send it to your Cricut machine for cutting, transforming your digital vision into a tangible kitchen decor item.
Cutting and Weeding Your Design
Once you’ve finalized your design in Cricut Design Space, it’s time to cut your design. Place the appropriate material onto your cutting mat, ensuring that it’s smooth and free of any debris. Select the correct material setting in Design Space, which will adjust the blade’s pressure for optimal cutting. Load the cutting mat into your Cricut machine and press the ‘Cut’ button. The machine will then precisely cut your design from the material. After cutting, remove the mat from the machine and carefully weed the design. Weeding involves removing the excess material around your design, leaving only the desired elements. Use weeding tools, such as a hook or tweezers, to lift and remove small pieces of material. This step is essential for ensuring a clean and professional final product. Take your time during this process, especially when working with intricate designs. Once you have weeded your design, you are ready to apply it to your chosen kitchen item, bringing your design to life.
Applying Your Design to the Kitchen Item
Applying your design to the chosen kitchen item is the final step in the process. If you are using vinyl, use transfer tape to lift your design from the backing and transfer it onto the surface of your item. Carefully position the design on the surface, ensuring it is straight and aligned. Use a scraper or burnishing tool to smooth the design onto the item, pressing firmly to ensure that the vinyl adheres properly. If you are working with heat transfer vinyl (HTV), you will need an iron or heat press. Place the HTV design on your fabric item and apply heat according to the manufacturer’s instructions. The heat activates the adhesive, bonding the design to the fabric. After the application process, carefully peel away the transfer tape or carrier sheet, leaving your design securely in place. If you are working with paint or other mediums, follow the appropriate application method for your chosen material. With careful application, your Cricut-created design will transform your kitchen items, bringing your creative vision to life and adding a personal touch to your cooking and dining space. Make sure that the surface is clean and dry before applying your design.
Tips for Perfect Cricut Kitchen Decor
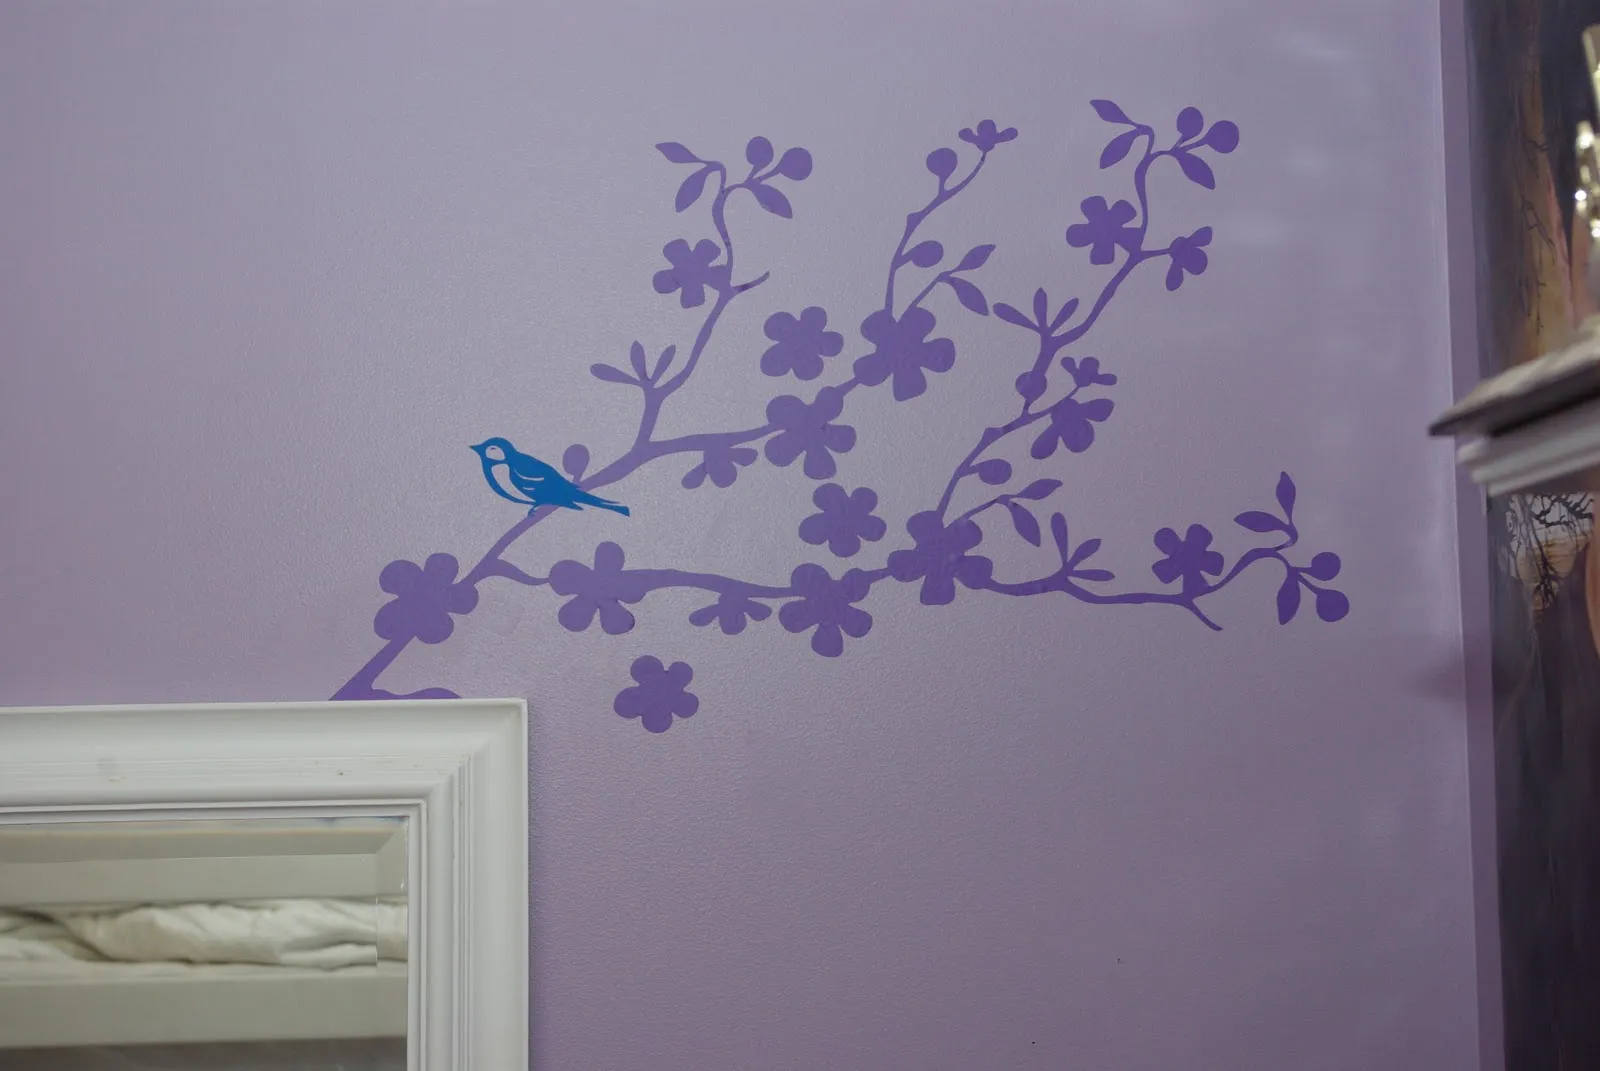
Material Selection and Preparation
The quality of your materials and the preparation of your surfaces are crucial for perfect Cricut kitchen decor. When selecting materials, consider the durability and suitability for the kitchen environment. For example, choose water-resistant vinyl for items that may get wet, or heat-resistant HTV for fabric items. Ensure that your materials are compatible with your Cricut machine and the intended project. Prepare your surfaces by cleaning them thoroughly. Remove any dust, dirt, or grease to ensure that your designs adhere properly. For painted surfaces, make sure the paint is completely dry. If you are working with fabric, pre-wash and iron the fabric to prevent shrinking or wrinkles. When working with wood, sand the surface to create a smooth, even finish. Proper material selection and surface preparation are essential for ensuring that your Cricut projects look their best and last. Choosing high-quality materials and taking the time to prepare your surfaces will significantly impact the overall appearance and longevity of your kitchen decor.
Troubleshooting Common Issues
Even with the best planning, you might encounter issues during your Cricut kitchen decor projects. Fortunately, many common problems have simple solutions. If your vinyl isn’t sticking, ensure that you have properly cleaned the surface and are using the correct adhesive. You might need to adjust the pressure settings on your Cricut machine or use a stronger adhesive. If your design isn’t cutting correctly, check your blade and cutting mat for wear and tear; replace them if necessary. Also, ensure that you have selected the correct material setting in Cricut Design Space. Weeding can be tricky, especially with intricate designs. Use a bright light and take your time, using a weeding tool to carefully remove the excess material. If bubbles or wrinkles appear when applying vinyl, try using a scraper to smooth them out. Start from the center and work your way outwards. For fabric projects, make sure that you are applying heat evenly and for the correct amount of time, according to the HTV instructions. Troubleshooting is part of the crafting process, and with a little patience and persistence, you can overcome any challenges and achieve perfect results.
Maintaining and Cleaning Your Cricut Decor
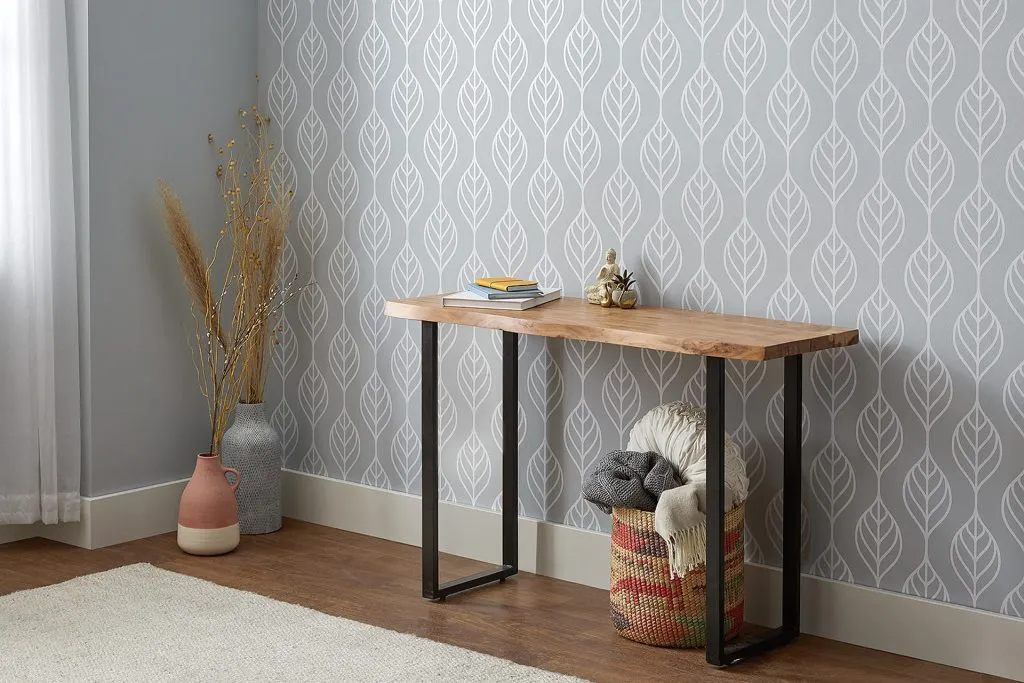
To keep your Cricut kitchen decor looking its best, proper maintenance and cleaning are necessary. When cleaning your decor, always refer to the material’s care instructions. For vinyl designs, gently wipe with a damp cloth and mild soap if necessary. Avoid using abrasive cleaners or scrubbing too vigorously, as this could damage the design. For fabric items, wash them according to the fabric care label. If the design is made with HTV, wash the items inside out to help preserve the design. To maintain your Cricut machine and supplies, clean the machine regularly, following the manufacturer’s instructions. Keep your cutting mats clean by removing any debris after each use; clean them with a lint roller or mild soap and water. Store your materials properly to prevent damage; store vinyl and paper flat to avoid bending, and keep your blades and tools in a safe place. By following these maintenance and cleaning tips, you can prolong the life of your kitchen decor and ensure that it continues to look beautiful for years to come. Proper care will help protect your creative work and maintain the charm and personality of your kitchen.
Showcasing Your Cricut Kitchen Decor
Photographing Your Projects
Showcasing your Cricut kitchen decor through photography is a great way to share your creativity and inspire others. When photographing your projects, focus on capturing clear, well-lit images that highlight the design details and the overall aesthetic. Use natural light whenever possible, as it often provides the best results. If you are taking photos indoors, consider using a softbox or a diffuser to soften the light and eliminate harsh shadows. Stage your projects in your kitchen setting to provide context and showcase how they fit into the space. Use props and accessories to enhance the visual appeal of your photos. Experiment with different angles and perspectives to capture the most flattering shots. For example, a close-up shot can highlight the intricate details of a design, while a wide shot can show the project in the context of your kitchen. When editing your photos, make sure they look natural and true to life. Adjust the brightness, contrast, and color balance to enhance the overall appearance. Well-photographed projects are not only visually appealing but also a great way to document your progress and share your passion for Cricut crafting.
Sharing Your Decor Ideas
Sharing your Cricut kitchen decor ideas allows you to connect with other crafters, inspire others, and receive valuable feedback. There are several platforms you can use to share your projects, including social media sites such as Instagram, Pinterest, and Facebook. Create engaging posts with high-quality photos and descriptions of your projects, including details about the materials used, the design process, and any tips or tricks you learned along the way. Use relevant hashtags to increase the visibility of your posts and reach a wider audience. Join online crafting communities and forums to share your work and connect with other crafters. Participate in crafting challenges and contests to gain exposure and showcase your skills. Consider starting a blog or creating a YouTube channel to document your projects in more detail, sharing tutorials and step-by-step instructions. Engaging with your audience by responding to comments and questions is also a great way to build a community and gain inspiration. Sharing your projects is a rewarding experience that allows you to celebrate your creativity and connect with a wider world of DIY enthusiasts.
