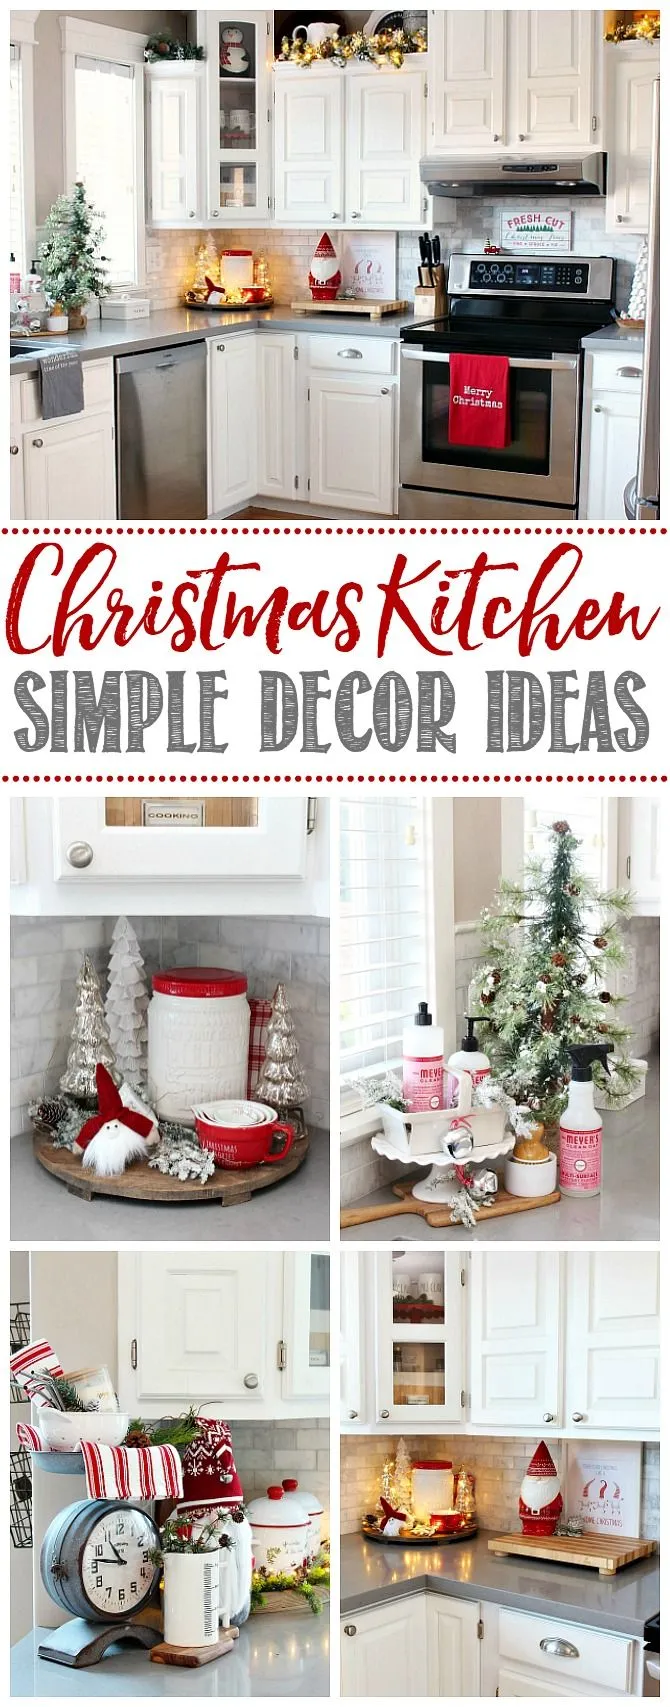
DIY Christmas Kitchen Decorating Ideas
Transforming your kitchen into a festive wonderland this Christmas doesn’t have to break the bank. With a little creativity and some DIY spirit, you can create a warm and inviting space that captures the magic of the season. This guide offers five fantastic DIY ideas to help you decorate your kitchen, ensuring it’s the heart of your holiday celebrations. From wreaths to centerpieces, these projects are designed to be accessible and enjoyable, allowing you to personalize your space with a touch of handmade charm. Get ready to infuse your kitchen with holiday cheer, creating memories as you craft and decorate.
Festive DIY Christmas Wreath
A wreath is an iconic Christmas symbol, and a DIY version adds a personal touch to your kitchen. Placing a wreath on your kitchen door or a window instantly elevates the festive feel. The beauty of making your own wreath lies in the ability to customize it to your kitchen’s existing decor. Choose colors and embellishments that complement your space, creating a cohesive and welcoming environment. This project is not only a fun crafting activity but also a wonderful way to showcase your holiday spirit to guests and family members. The added benefits of a handmade wreath include cost savings and a unique decoration that reflects your personal style.
Materials and Tools Needed
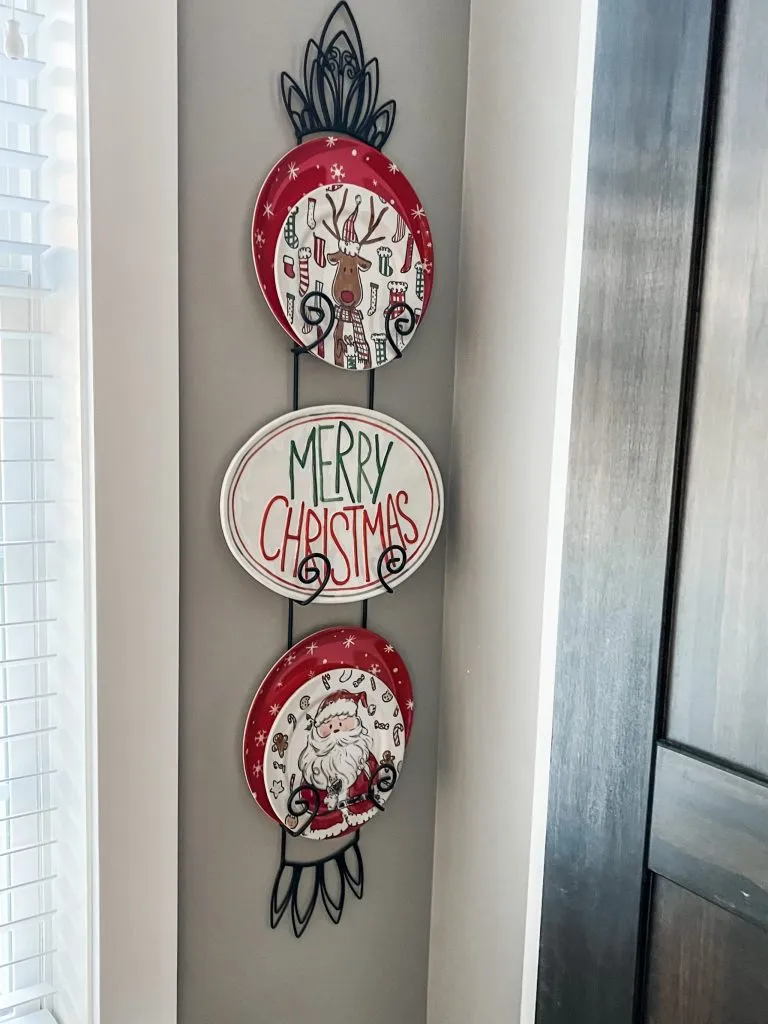
Gathering the right materials is crucial for a smooth wreath-making process. You’ll need a sturdy wreath base (grapevine, metal, or foam), evergreen cuttings (real or faux), decorative elements (pinecones, berries, ornaments), floral wire or hot glue, wire cutters, and scissors. Consider adding seasonal ribbons, bows, or small bells to enhance the festive look. Ensure you have a safe workspace with good lighting, and protect your surfaces from glue or paint spills. Having all your supplies readily available will streamline the project and make the experience more enjoyable. Don’t hesitate to visit a craft store for inspiration and additional materials that might spark your creativity.
Step-by-Step Guide
Begin by securing the evergreen cuttings to the wreath base using floral wire or hot glue. Overlap the cuttings to create a full, lush look. Once the base is covered, start adding your decorative elements. Attach pinecones, berries, and ornaments using wire or glue, spacing them evenly around the wreath. Add a festive bow at the top or bottom, securing it firmly. Ensure all elements are securely attached to prevent them from falling off. Step back and assess your creation, making any necessary adjustments. Once you’re satisfied, your custom-made Christmas wreath is ready to adorn your kitchen and spread holiday cheer. Remember to allow ample drying time if using glue.
DIY Christmas Garland for Kitchen
Garlands are an excellent way to add a touch of festivity to your kitchen. They can be draped across cabinets, above windows, or around the range hood, instantly creating a cozy atmosphere. DIY garlands allow you to incorporate your personal style and match your existing decor. You can create garlands using various materials such as fresh greenery, faux pine branches, or even paper or felt cutouts. The choice of materials provides an opportunity to get creative and experiment with different textures and colors, enhancing the overall aesthetic appeal of your kitchen. This project is a fun and easy way to bring a sense of holiday spirit into your culinary space.
Materials and Tools Needed
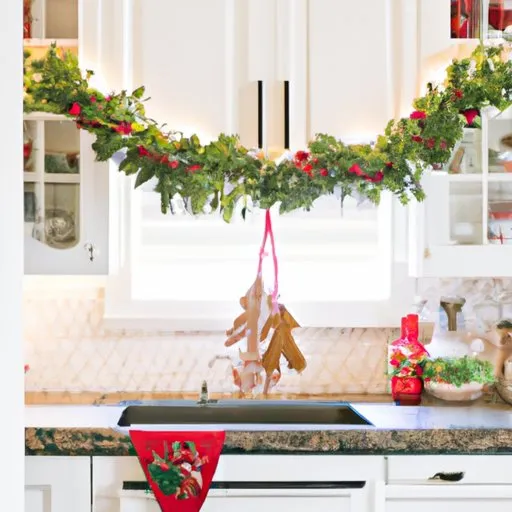
To craft a garland, you’ll require materials such as garland base (rope, twine, or wire), greenery (real or faux), decorative elements (ornaments, berries, lights), wire cutters, scissors, and hot glue. If using lights, make sure you have a power source nearby. You can also incorporate other elements, such as cinnamon sticks, dried oranges, or small bells. Choose materials that match your kitchen’s theme and style. A well-stocked workstation, including safety glasses, helps make the task efficient and safe. It’s also helpful to lay out all the supplies to streamline the assembly process. Selecting materials that complement each other ensures a cohesive design.
Step-by-Step Guide
Start by preparing your garland base. If using a wire, twist it to create a sturdy foundation. Attach the greenery to the base, ensuring it’s evenly distributed. Secure each piece with floral wire or hot glue, overlapping the branches to create a full look. Once the base is covered, start adding your decorative elements. Attach ornaments, berries, and lights, spacing them evenly. Ensure the lights are properly secured. If using heavier ornaments, use stronger wire or glue. Add finishing touches like ribbons or bows. Step back and admire your work before displaying the garland in your kitchen. Ensure you have appropriate support if hanging from cabinets or windows.
DIY Christmas Kitchen Shelf Decor
Decorating your kitchen shelves with Christmas-themed items adds a charming touch of holiday spirit. Shelves offer a versatile space to display a collection of festive decorations. You can arrange your favorite ornaments, seasonal figurines, and small decorative trees to create a visually appealing display. Consider incorporating a color scheme to maintain a cohesive look, or mix and match various elements for a more eclectic and personalized feel. This project allows you to curate a unique display that reflects your individual style and adds a cheerful ambiance to your kitchen. The decorations can be easily changed each year.
Materials and Tools Needed
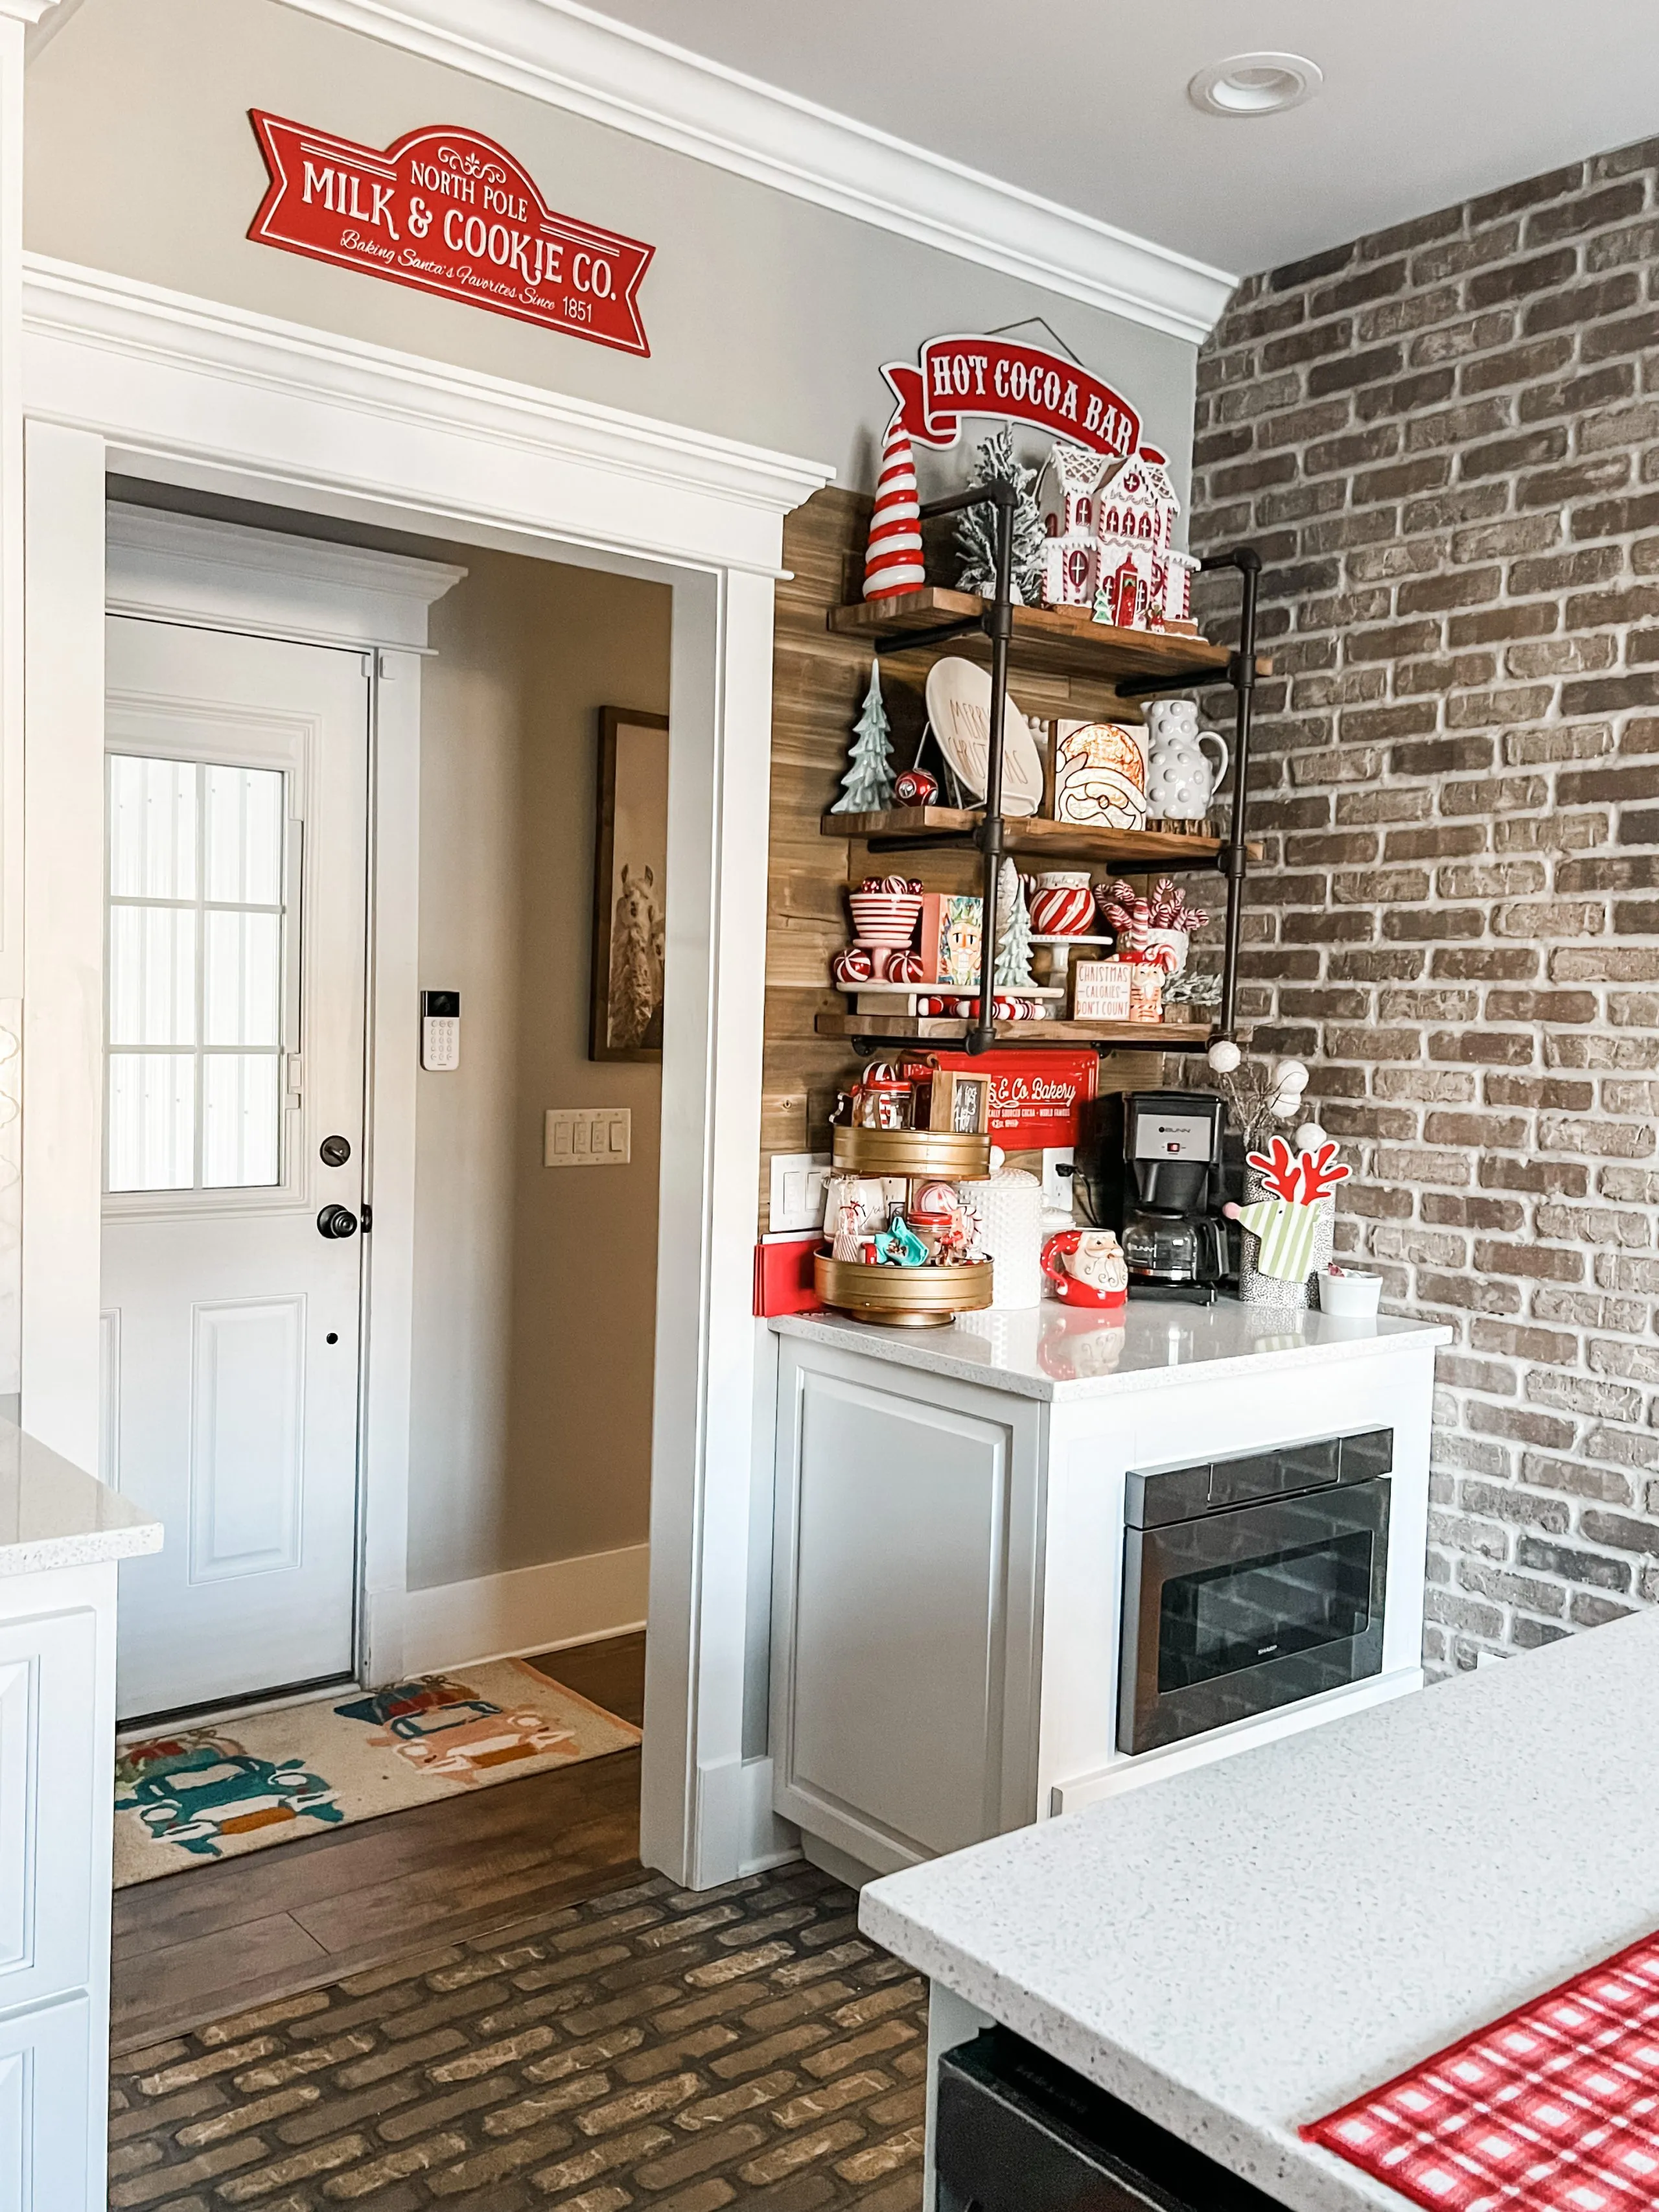
For shelf decor, you’ll need various Christmas decorations such as small trees, figurines, ornaments, candles, and decorative bowls. Consider using artificial snow or cotton batting to create a wintery effect. You may also require items like adhesive putty to secure decorations and prevent them from sliding, as well as any additional craft supplies or accessories. Depending on your chosen display, you might need small risers or stands to elevate certain items. Ensure you have a clear idea of the space and the look you wish to achieve, which will guide you in selecting the appropriate materials. Safety glasses are recommended if you plan on using any tools to avoid any accidents.
Step-by-Step Guide
Begin by clearing your shelves and dusting them. Plan out the arrangement of your decorations before placing anything. Start with the larger items, such as small trees or figurines, as the foundation of your design. Add smaller ornaments and decorative bowls to fill the gaps. Use adhesive putty or small stands to stabilize any items that might easily topple. Incorporate candles and lights for a warm glow. Arrange the items to achieve visual balance, varying the heights and textures for interest. Step back and make adjustments as needed to create a cohesive and festive display. Ensure your decorations are securely placed before finishing, and clean up any mess.
DIY Christmas Kitchen Table Centerpiece
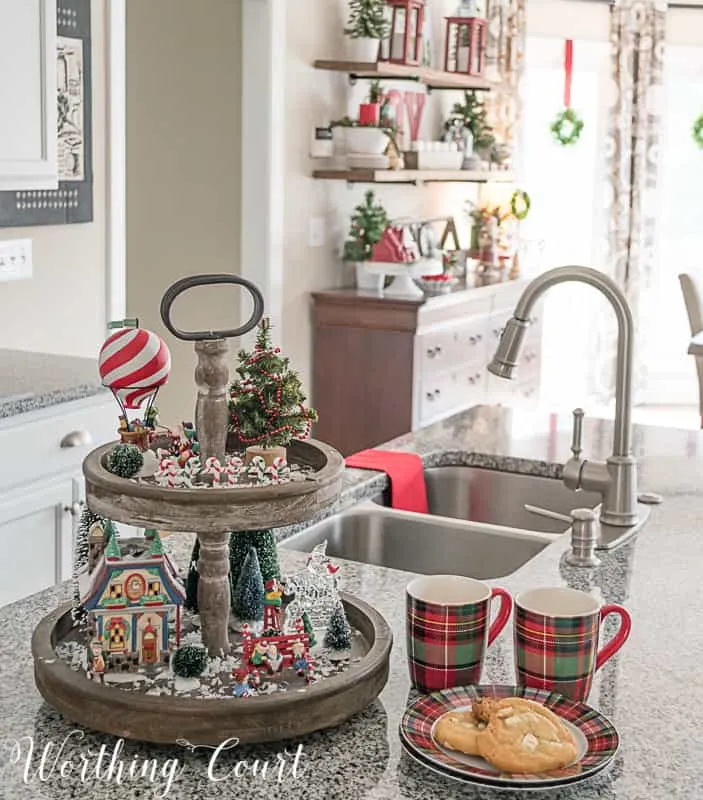
A centerpiece is the heart of your kitchen table, and a DIY version creates a focal point for your holiday meals. You can personalize it with elements that reflect your family’s traditions or your home’s style. Consider using a combination of candles, ornaments, fresh greenery, and seasonal fruits to create a beautiful and inviting centerpiece. A well-designed centerpiece adds a touch of elegance and transforms your kitchen table into a festive display. This project is an excellent opportunity to get creative and showcase your personal touch. The versatility of DIY centerpieces ensures you can change them to match any theme.
Materials and Tools Needed
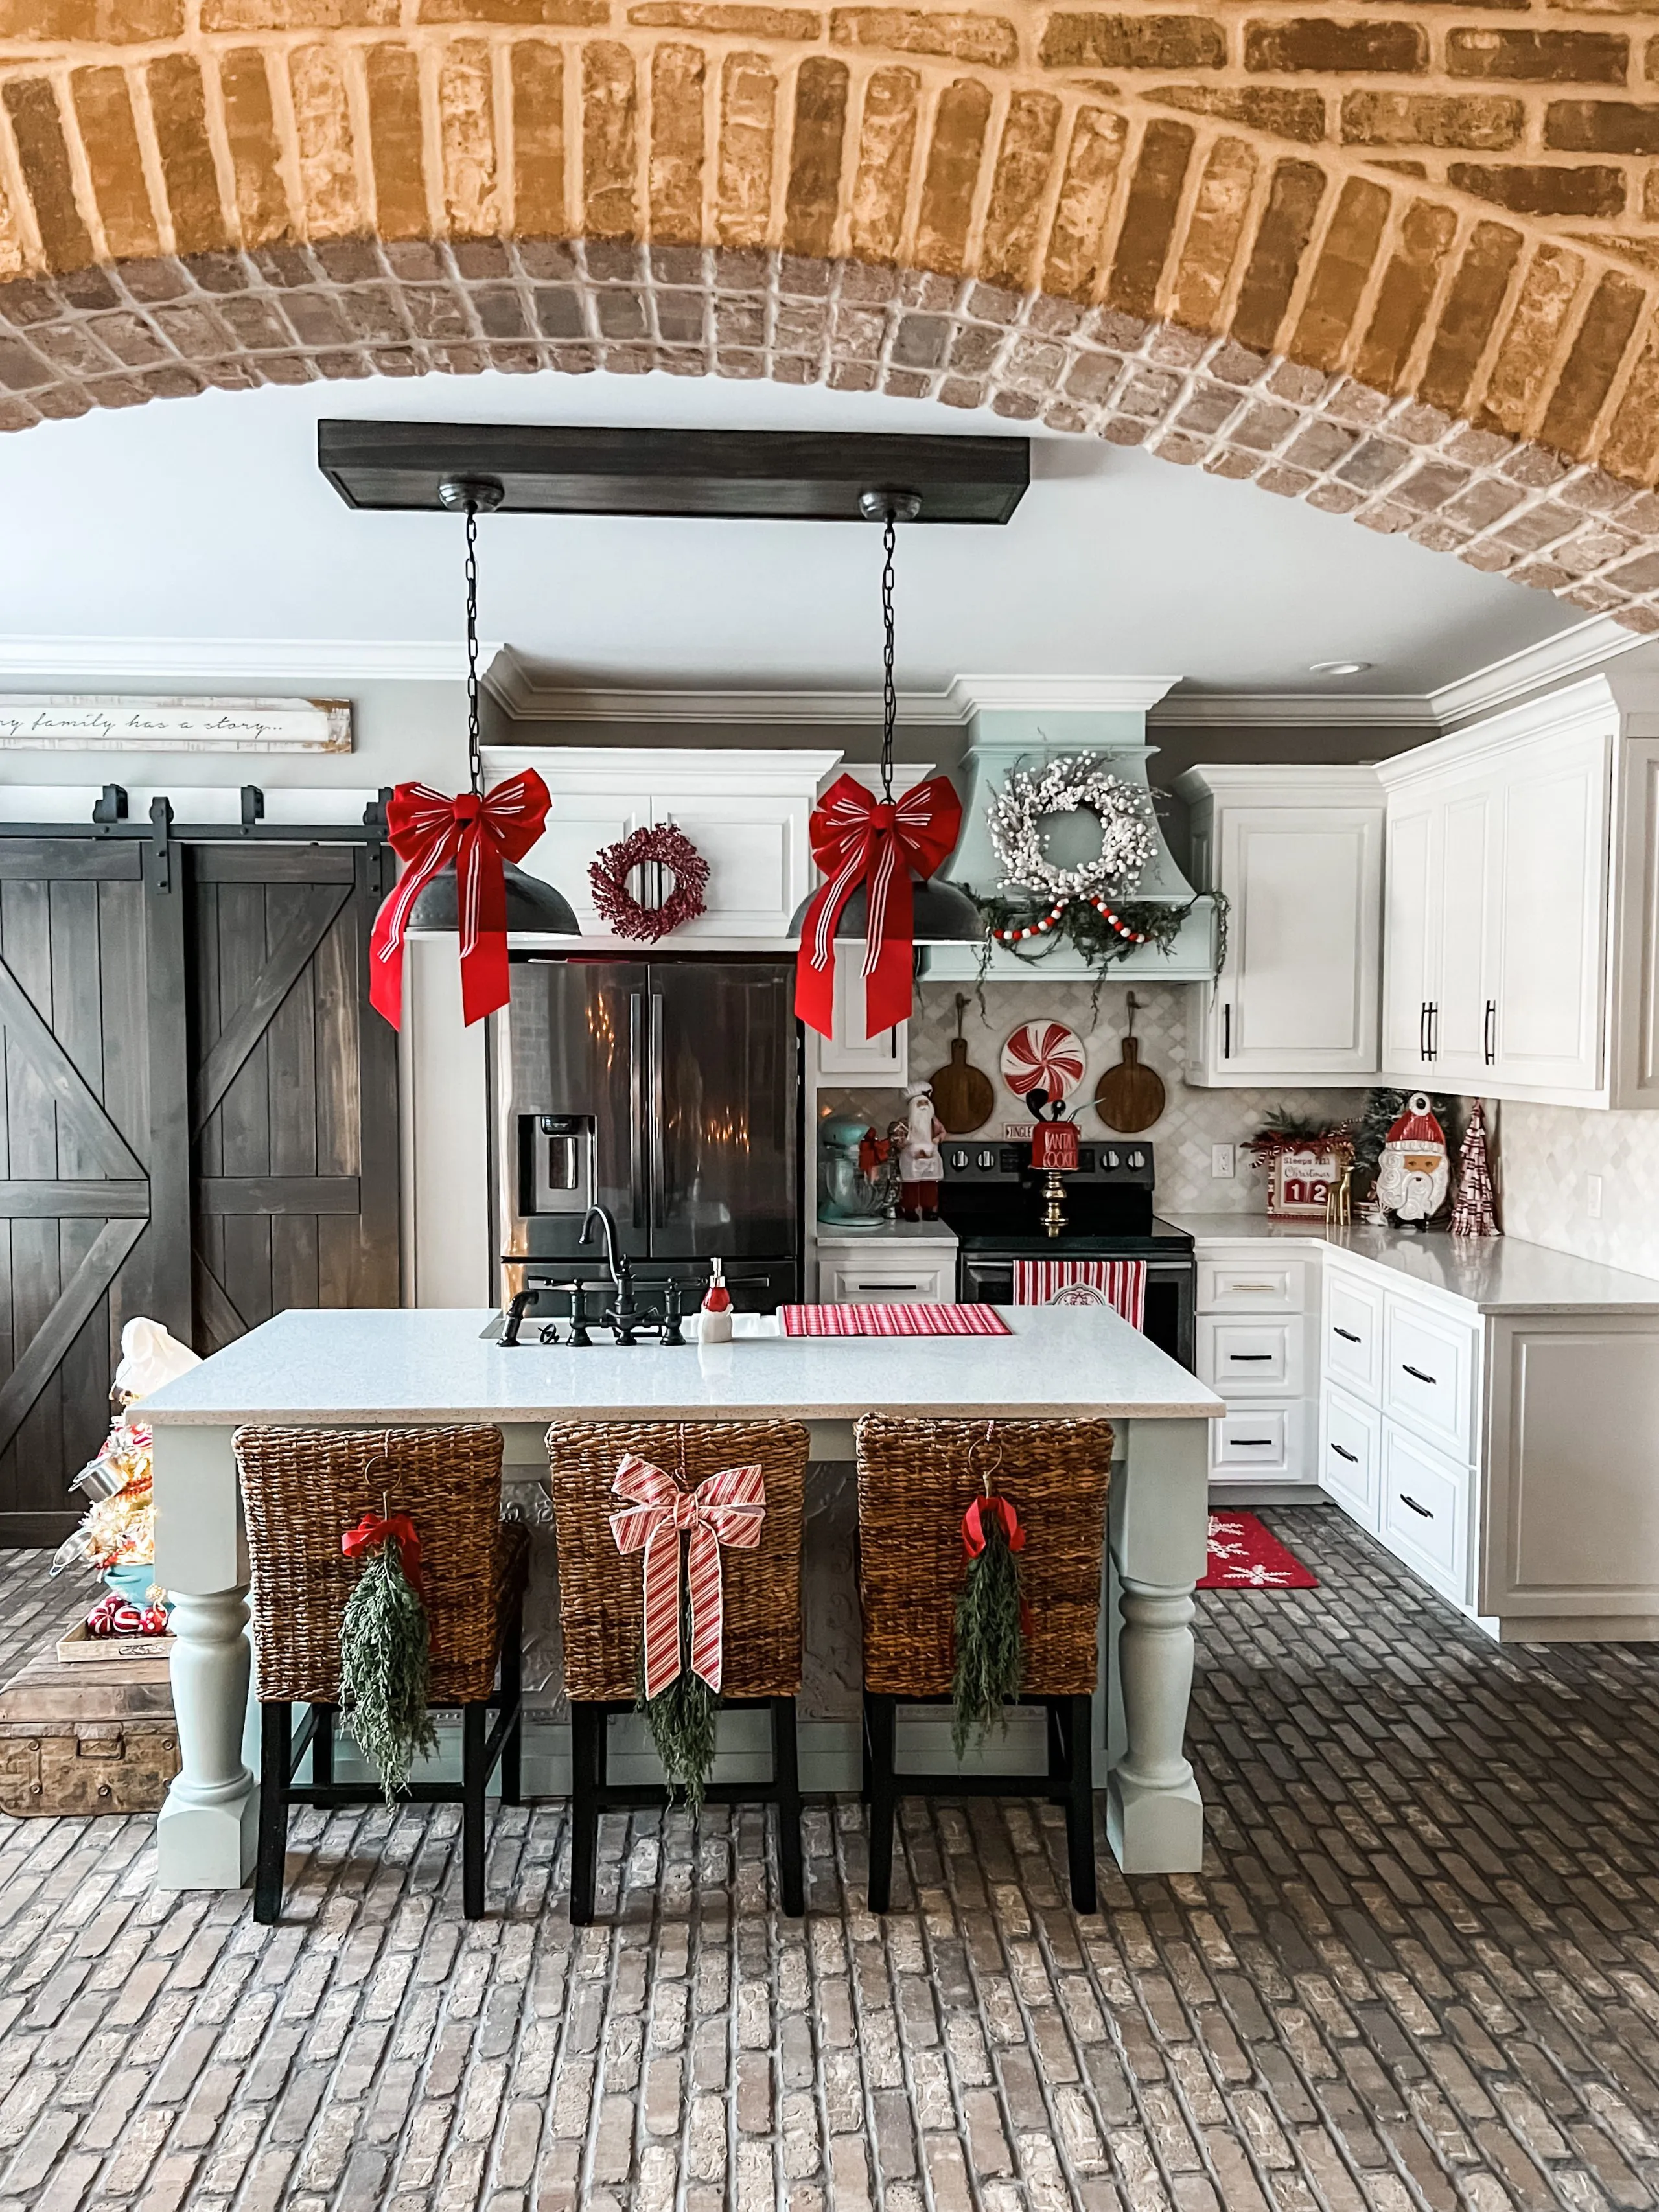
For your centerpiece, gather a base like a tray, a wooden slice, or a runner. Collect decorative elements like candles, ornaments, pinecones, and fresh greenery. Include seasonal fruits like oranges or pomegranates. You will also need tools such as wire cutters, floral foam (optional), glue, and scissors. Choose a color scheme that coordinates with your kitchen. Consider adding ribbon, bows, or small lights to enhance the centerpiece’s appeal. Decide if you want a rustic, elegant, or modern look and select materials accordingly. Remember to take precautions when handling candles or working with sharp objects.
Step-by-Step Guide
Start by preparing your base. If using a tray or wooden slice, ensure it’s clean and stable. Arrange your taller items first, such as candles or a decorative lantern. Add greenery to create a base and fill in the spaces. Use floral foam to help secure stems. Place ornaments, pinecones, and fruits around the candles or lantern. Ensure a balanced arrangement. Incorporate ribbon or lights to add more visual interest. Step back and assess the overall look. Adjust elements until you achieve the desired effect. Your centerpiece is ready once all components are securely placed and the design is cohesive. Remember to always prioritize safety, particularly when working with fire.
DIY Christmas Kitchen Window Decorations
Decorating your kitchen windows is an excellent way to add a festive touch and enhance the overall Christmas ambiance. Window decorations are visible from both inside and outside, creating a welcoming atmosphere for your home. You can use a variety of items such as garlands, wreaths, or even DIY paper snowflakes to adorn your windows. Consider using battery-operated lights to add a warm glow and create a magical effect, especially during the evening. This project allows you to unleash your creativity, add character to your kitchen, and spread holiday cheer to your neighborhood.
Materials and Tools Needed
To decorate your kitchen windows, you’ll need items such as garlands, wreaths, or pre-made window clings. If you’re making your own decorations, gather materials like paper, scissors, glue, and string or ribbon. Battery-operated lights and suction cups can also be helpful. For a rustic look, you can use twigs, pinecones, or cinnamon sticks. Alternatively, you could create a snowy scene using cotton batting or artificial snow. Ensure you have the necessary tools like scissors and a ruler. Think about your kitchen decor and choose materials that will complement it. Make sure the materials are safe and easy to manage.
Step-by-Step Guide
Start by cleaning your windows to ensure the decorations adhere properly. Measure the window space to determine the size of your decorations. If using pre-made items like wreaths or garlands, attach them using suction cups or hooks. For DIY decorations, create snowflakes or other shapes, using paper and scissors. String them together with thread or ribbon and hang them from the top of the window frame. Attach battery-operated lights to enhance the display, taking care to secure any wires. Step back and adjust the placement of your decorations to create a balanced look. Your festively decorated windows will bring Christmas spirit into your kitchen and neighborhood.
In conclusion, decorating your kitchen for Christmas with DIY projects is a rewarding way to enhance your holiday celebrations. These five ideas provide a range of options to personalize your space and infuse it with a festive atmosphere. From wreaths and garlands to shelf decor and centerpieces, each project allows you to express your creativity and create a warm and welcoming environment. As you embark on these DIY adventures, remember to enjoy the process. The true joy of decorating comes from creating memories as you transform your kitchen into a beautiful Christmas haven.
