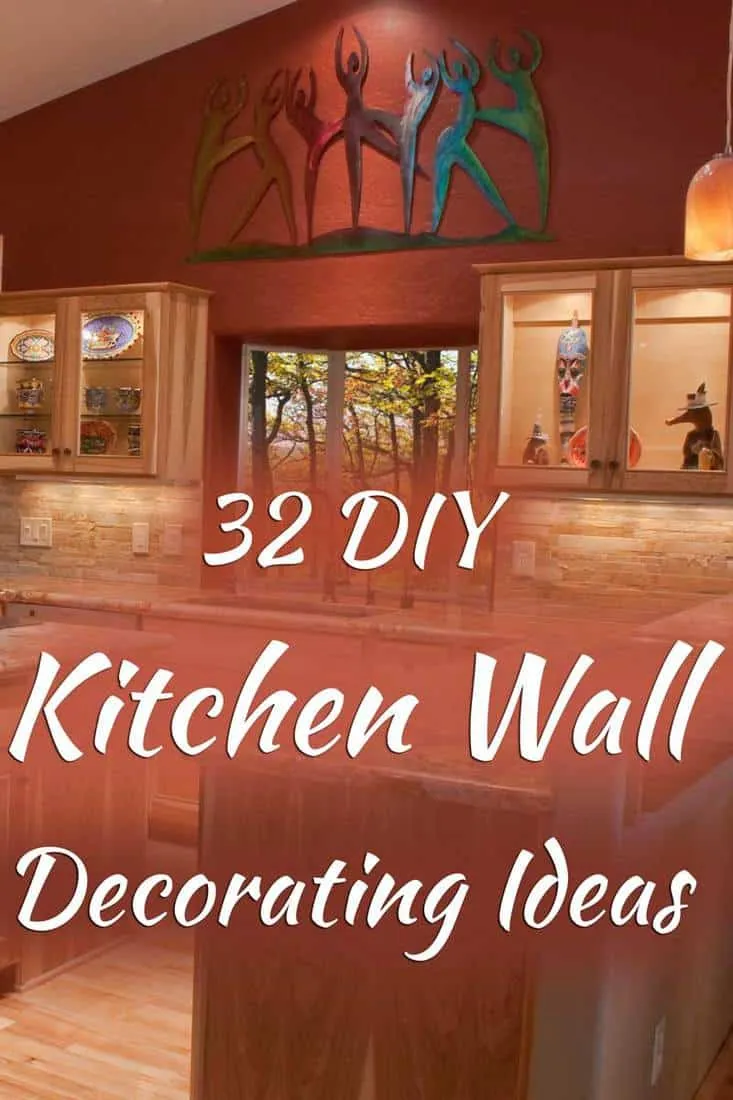
7 DIY Kitchen Decor Panel Ideas
Transforming your kitchen doesn’t always require a full remodel; sometimes, a few well-chosen DIY kitchen decor panels can make all the difference. Kitchen panels offer a fantastic opportunity to inject personality, texture, and style into your space without breaking the bank. Whether you’re aiming for a rustic farmhouse vibe, a sleek modern look, or something in between, these seven DIY panel ideas will inspire you to get creative and personalize your culinary haven. From the warmth of faux brick to the sleekness of metal, let’s dive into a world of possibilities and discover how easy it is to refresh your kitchen with a touch of DIY magic. These projects cater to various skill levels and budgets, ensuring there’s something for everyone to enjoy and elevate their kitchen’s aesthetic.
Panel Idea 1 Faux Brick
Faux brick panels offer an instant touch of industrial chic or rustic charm to your kitchen. They’re surprisingly easy to install and can completely transform a blank wall or backsplash. The textured surface adds depth and visual interest, creating a focal point that draws the eye. Faux brick panels are often made from lightweight materials like foam or vinyl, making them easier to handle and cut than actual bricks. They are also a cost-effective alternative to traditional brick, offering a similar aesthetic without the structural requirements and added expense. Incorporating faux brick into your kitchen decor is an excellent way to infuse character and create a cozy atmosphere.
Materials Needed for Faux Brick Panels

To create a faux brick panel feature, you’ll need a few essential materials. First, of course, are the faux brick panels themselves. Choose panels that match your desired style and color palette; options range from realistic red brick to whitewashed or even gray brick effects. You’ll also need adhesive suitable for your panel material and the surface you’re applying them to (construction adhesive often works well). A measuring tape, level, utility knife or saw, and safety glasses are crucial for accurate cutting and installation. Consider acquiring a caulk gun, caulk and appropriate paint if you want to customize the look further. Ensure you have the right tools and materials on hand to ensure a smooth, successful project.
Step-by-Step Guide to Installing Faux Brick Panels
Installing faux brick panels is a manageable DIY project. Begin by preparing the surface: clean it thoroughly to remove any dust, grease, or debris. Measure and cut the panels to fit your space, using a utility knife or saw. Apply adhesive to the back of the panels, following the manufacturer’s instructions. Carefully position the panels on the wall, using a level to ensure they’re straight. Press firmly to secure the panels in place. If necessary, use painter’s tape to hold the panels while the adhesive dries. Once the adhesive is dry, caulk any gaps around the edges for a seamless finish. Finally, you can add paint or sealant to further enhance the brick’s appearance and protect it from moisture and wear.
Panel Idea 2 Shiplap
Shiplap panels have become a staple in farmhouse and coastal-inspired kitchens, providing a clean, classic aesthetic. The horizontal lines create a sense of visual expansion, making your kitchen appear larger and airier. Shiplap’s simple design makes it incredibly versatile, allowing it to complement a range of styles, from rustic to modern. Its natural wood grain adds warmth and texture, while the slight gap between the boards offers a subtle shadow line that elevates the look. Shiplap is an excellent choice for walls, backsplashes, or even the ceiling, bringing a touch of timeless elegance to your kitchen decor.
Shiplap Material Options

When choosing shiplap, you’ll have several material options to consider. Traditional shiplap is made from solid wood, often pine or cedar, known for its durability and natural beauty. However, it can be more expensive. Alternatively, you can opt for manufactured shiplap, made from MDF (medium-density fiberboard) or plywood, which is often more affordable and easier to work with. Consider pre-primed shiplap for added convenience. Choose materials that suit your budget and the desired look. Keep in mind that the material impacts installation and finishing options, from staining to painting.
Shiplap Installation Instructions
Installing shiplap is a rewarding DIY project. Start by preparing your wall surface, ensuring it’s clean, dry, and level. Measure and cut the shiplap boards to fit your space, and use a stud finder to locate the wall studs for secure fastening. Apply construction adhesive to the back of the boards for added stability. Position the first board, ensuring it’s level, and secure it to the studs using finish nails or a nail gun. Use spacers (coins or shiplap spacers) between the boards to create the characteristic gap. Continue installing the boards, working across the wall, until the area is covered. Fill nail holes with wood filler, sand, and paint or stain the shiplap to match your kitchen’s style.
Panel Idea 3 Beadboard
Beadboard panels bring a classic, charming touch to any kitchen. Known for their vertical grooves, beadboard adds texture and visual interest while creating an illusion of height, which can make your kitchen feel more spacious. Beadboard is a versatile choice that complements various design styles, from traditional to cottage-chic. Its clean lines and subtle detailing provide a timeless aesthetic that enhances the overall appeal of the space. Beadboard is also relatively easy to install, making it a great DIY project to add character and warmth to your kitchen.
Beadboard Application Techniques

Beadboard can be applied in various ways, depending on your desired look and the area you’re working on. For a full-wall application, start by ensuring the wall surface is clean and level. You can install beadboard directly onto the wall or over existing drywall. Use construction adhesive and finish nails to secure the panels. For backsplashes, beadboard offers a durable and stylish option. You can install it between your countertops and upper cabinets. Consider adding a decorative trim to finish the edges, providing a polished look. When installing in areas prone to moisture, seal the beadboard with paint or sealant to prevent water damage and extend its lifespan.
Beadboard Finishing Touches
Finishing your beadboard installation is crucial to achieving a professional and long-lasting result. After installing the panels, fill any nail holes with wood filler and allow it to dry completely. Sand the filled areas smooth and wipe away any dust. Prime the beadboard with a quality primer, especially if it’s made of MDF, as it helps seal the surface and ensure even paint coverage. Apply two coats of paint in your chosen color, allowing each coat to dry thoroughly. Consider using a semi-gloss or satin finish for durability and easy cleaning. Adding decorative trim along the top and bottom edges creates a refined, finished look that enhances the overall aesthetic.
Panel Idea 4 Chalkboard Panels
Chalkboard panels provide a unique blend of functionality and style to your kitchen. They offer a creative space for notes, menu planning, grocery lists, or artistic expression. Chalkboard panels add a touch of rustic charm or modern flair, depending on the frame and surrounding decor. They’re a versatile option that can be easily updated with fresh designs and messages. From a simple backsplash to a full-wall statement piece, chalkboard panels bring an interactive element to your kitchen design, making it a hub for communication and creativity.
Creating a Chalkboard Panel

Creating a chalkboard panel is a straightforward DIY project. You can use various materials, including MDF, plywood, or even repurposed doors or cabinet fronts. Begin by sanding the surface smooth and cleaning it thoroughly. Prime the surface with a primer specifically designed for chalkboard paint. Apply two to three coats of chalkboard paint, allowing each coat to dry completely. You can choose from various chalkboard paint colors, including black, green, and even clear. Once the paint is dry, season the chalkboard by rubbing chalk over the entire surface and then wiping it off. This helps prepare the surface for writing and prevents ghosting.
Chalkboard Panel Placement and Use
The placement of your chalkboard panel depends on your needs and kitchen layout. A chalkboard backsplash is an excellent choice, providing a convenient area for writing recipes or leaving notes. Consider creating a chalkboard panel on the side of a kitchen island or pantry door for added functionality. You can also use a framed chalkboard panel as a wall art piece. Use chalk markers or traditional chalk to write on your chalkboard panel. Clean the surface regularly with a damp cloth or a chalkboard eraser. Embrace the creativity that chalkboard panels bring. They let you express yourself and make your kitchen a more engaging and personalized space.
Panel Idea 5 Metal Panels
Metal panels add a modern, industrial edge to your kitchen design. They offer a sleek, durable, and easy-to-clean surface, making them a practical choice for backsplashes or accent walls. Metal panels can also provide a reflective surface, enhancing the light and creating a sense of spaciousness. Stainless steel, copper, and aluminum are popular choices, each offering unique visual characteristics. From a minimalist aesthetic to a bold, contemporary statement, metal panels bring a touch of sophistication and a modern touch to your kitchen decor.
Types of Metal Panels for Kitchens

Several types of metal panels work well in kitchens. Stainless steel is a classic choice, known for its durability, heat resistance, and easy maintenance. It creates a clean, professional look. Copper panels bring warmth and a touch of luxury, offering a natural antimicrobial surface. Copper develops a beautiful patina over time, adding character. Aluminum panels are lightweight and versatile, and you can often find them in various finishes. Consider embossed or textured metal panels for added visual interest. Your choice depends on your aesthetic preferences and budget. Each metal offers unique qualities and installation requirements.
Metal Panel Installation Tips
Installing metal panels requires careful planning and execution. Ensure the wall surface is clean, level, and free of any imperfections. Measure and cut the metal panels accurately, using appropriate tools like a metal shear or a circular saw with a metal-cutting blade. Use construction adhesive or specialized panel adhesives to secure the panels to the wall, following the manufacturer’s instructions. For backsplashes, consider using a sealant around the edges to prevent water damage. When working with metal, always wear safety glasses and gloves to protect yourself from sharp edges. Be mindful of the metal’s finish and take care to avoid scratches. Take your time and ensure precise measurements and cuts for a polished result.
Panel Idea 6 Wooden Pallet Panels
Wooden pallet panels are a fantastic way to incorporate rustic charm and eco-friendly design into your kitchen. Repurposing wooden pallets is a cost-effective project and gives your kitchen a unique, weathered look. Pallet panels bring texture and character, creating a warm and inviting atmosphere. The variations in wood grain and color add visual interest, making each panel a unique piece. From accent walls to backsplashes, pallet panels can transform your kitchen into a space full of personality and rustic appeal.
Sourcing and Preparing Wooden Pallets

Finding wooden pallets is often easier than you might think. Check with local businesses, construction sites, or online marketplaces. Make sure the pallets are heat-treated (HT) and not chemically treated (MB - methyl bromide). Before using them, thoroughly inspect the pallets for any damage, loose nails, or splinters. Disassemble the pallets carefully using a pry bar or a reciprocating saw. Sand the wooden planks to remove splinters and smooth the surface. Clean the planks with soap and water to remove dirt and debris. Consider applying a sealant or wood stain to protect the wood and enhance its appearance. Safe preparation of pallets is crucial to ensure your safety and create a long-lasting result.
Pallet Panel Installation Techniques
Installing pallet panels involves several methods. You can install individual planks directly onto the wall, creating a mosaic effect. Alternatively, you can pre-assemble the planks into larger panels for easier installation. Use construction adhesive and finish nails to secure the panels to the wall. Ensure the planks are level and evenly spaced. Consider using spacers to maintain consistent gaps between the planks. Fill any nail holes with wood filler and sand the surface smooth. Apply a sealant or clear coat to protect the wood and enhance its appearance. Enjoy your new rustic accent wall that reflects both your creativity and commitment to sustainability.
Panel Idea 7 Wallpaper Panels
Wallpaper panels offer a versatile and stylish way to update your kitchen decor, adding color, pattern, and texture without a major renovation. They’re a simple project, great for creating a focal point or enhancing a specific area. Wallpaper panels can transform the look of your kitchen, from subtle elegance to bold, graphic statements. With various designs, from floral and geometric to textured and metallic, you can easily customize your kitchen to reflect your personal style. Wallpaper panels are an excellent way to experiment with design and add a touch of personality to your space.
Choosing Wallpaper for Panels

Selecting the right wallpaper is key to a successful panel project. Consider the kitchen’s overall style and the desired effect. For a classic look, choose timeless patterns like stripes, florals, or damasks. If you want to make a statement, bold geometric or abstract designs are excellent options. Ensure the wallpaper is suitable for kitchen use. Vinyl wallpaper is a practical choice because it is water-resistant and easy to clean. Consider the wallpaper’s color and pattern in relation to your existing kitchen elements, such as cabinets, countertops, and appliances. Ensure the chosen wallpaper complements the kitchen and enhances the overall decor.
Applying Wallpaper to Panels
Applying wallpaper to panels involves a few key steps. First, prepare your panels by ensuring they are clean, smooth, and free of imperfections. You can use pre-cut panels or create your own from MDF or plywood. Measure and cut the wallpaper, leaving a small overlap for trimming. Apply wallpaper adhesive to the panel surface or the wallpaper backing, following the manufacturer’s instructions. Carefully position the wallpaper onto the panel, smoothing out any air bubbles with a smoothing tool or a soft cloth. Trim the excess wallpaper around the edges with a sharp utility knife or a straight edge and a craft knife. Allow the adhesive to dry completely. Your transformed panels will add instant style to your kitchen.
Conclusion
DIY kitchen decor panels offer a fantastic way to elevate your kitchen’s aesthetic without a costly renovation. From faux brick and shiplap to chalkboard and metal panels, there’s a project for every style and skill level. These ideas inspire creativity and allow you to personalize your culinary space. With careful planning, the right materials, and a touch of DIY enthusiasm, you can create a kitchen that reflects your personality and enhances your home’s overall charm. So, embrace the possibilities, roll up your sleeves, and start transforming your kitchen into the stylish, inviting space you’ve always dreamed of. Happy decorating!