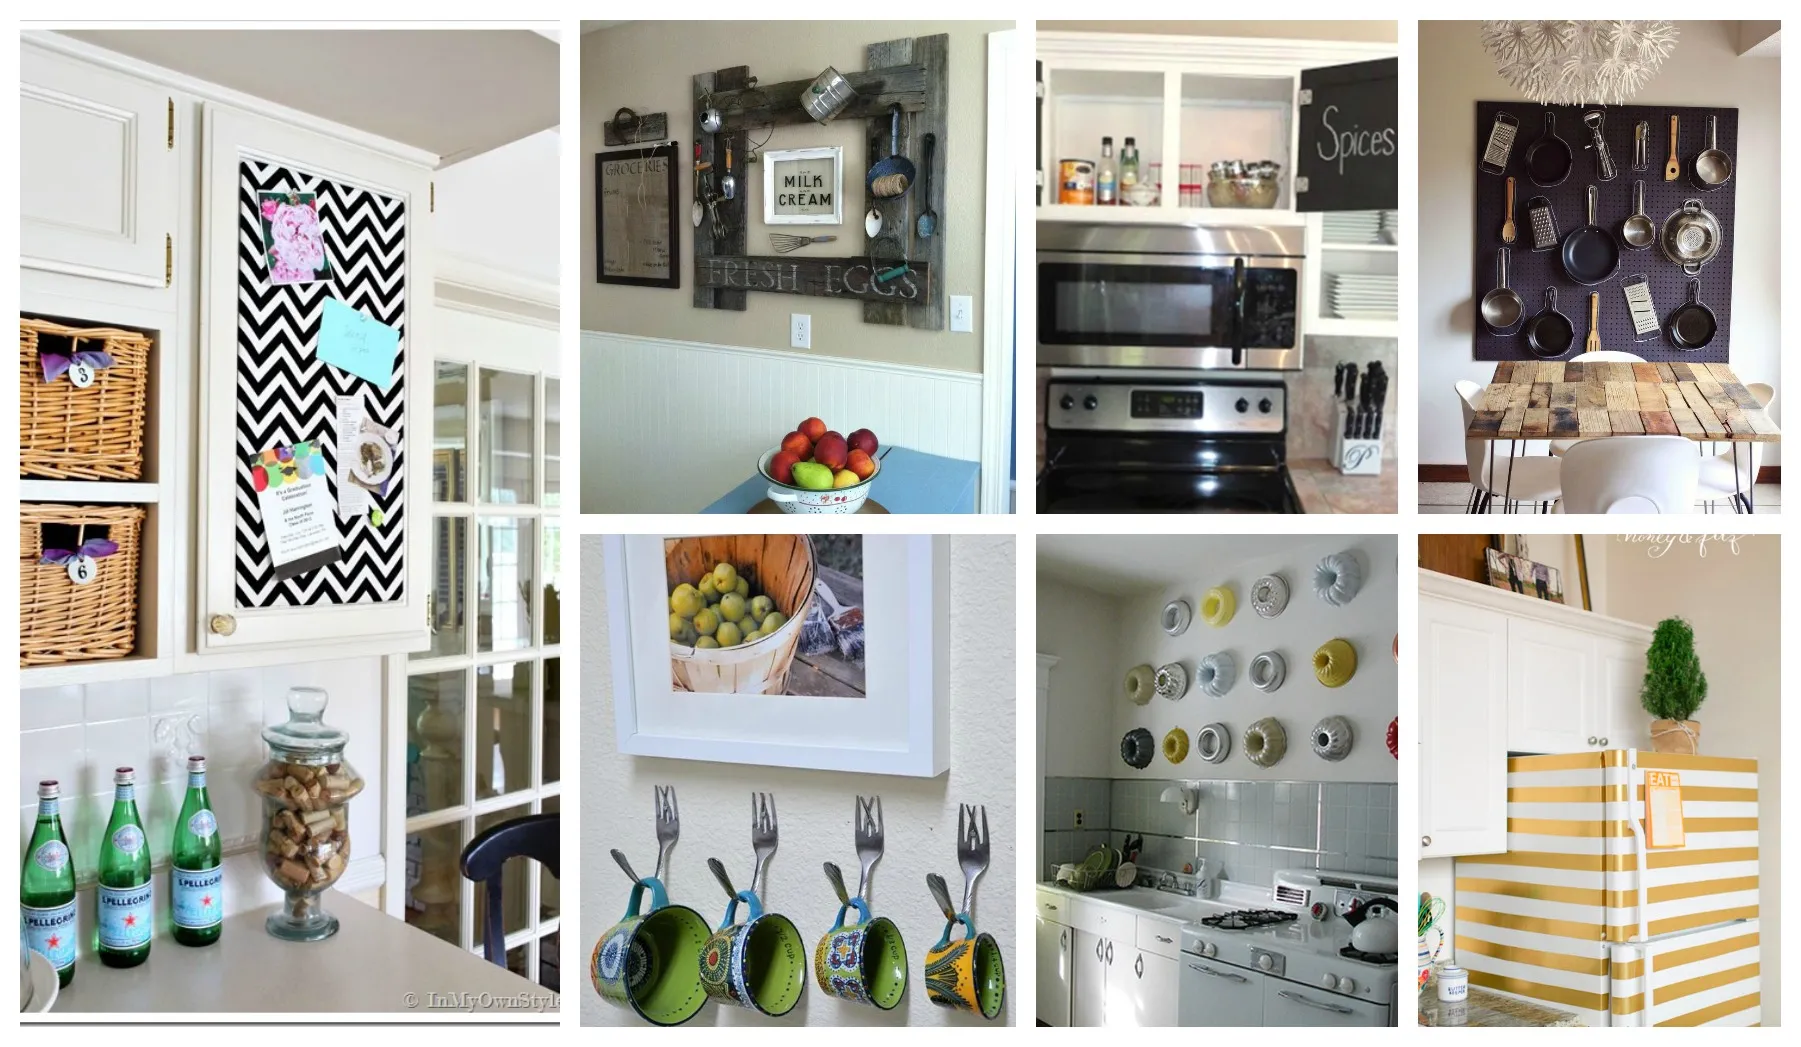
Kitchen Decor Ideas Top 7 DIY Crafts
Transform your kitchen into a stylish and personalized space with these top 7 DIY kitchen decor craft ideas. From simple paint projects to more involved builds, these crafts offer something for every skill level. Embrace your creativity and add a touch of handmade charm to the heart of your home. Not only will you enhance the aesthetic appeal of your kitchen, but you’ll also enjoy the satisfaction of creating something with your own hands. Dive into these projects and discover how easy it is to elevate your kitchen’s design and functionality.
DIY Kitchen Decor Painted Mason Jars
Painted mason jars are a versatile and charming addition to any kitchen. Use them as vases, utensil holders, or decorative accents on shelves or countertops. This project is ideal for upcycling old jars and injecting a burst of color into your space. The simplicity of this craft makes it accessible for crafters of all abilities, and the results are consistently delightful. Select colors that align with your existing kitchen decor or experiment with bold hues to make a statement. Get creative with different painting techniques and embellishments to achieve a unique look. The painted jars will add charm and vibrancy to your culinary haven.
Materials You’ll Need

To start, gather clean mason jars in various sizes. Acrylic paint is an excellent choice for this project due to its wide color range and ease of use. You’ll also need paintbrushes in different sizes, painter’s tape for patterns (optional), and a sealant to protect your finished product. Consider using a primer if painting on dark-colored jars or to ensure better paint adhesion. Twine, ribbons, or stencils can add a personalized touch. Remember to protect your workspace with newspaper or a drop cloth. Ensure that you have all materials before starting.
Step-by-Step Painting Guide
Begin by cleaning and thoroughly drying your mason jars. If using primer, apply a thin, even coat and let it dry completely. Next, apply the acrylic paint. You may need multiple coats, allowing each coat to dry before applying the next, to achieve the desired coverage and color intensity. For a rustic look, use a dry brush technique. For patterns, use painter’s tape to section off areas and paint them in different colors. Once the paint is completely dry, apply a sealant for protection and durability. These painted jars are perfect for kitchen decor.
Adding Decorative Elements
Once the paint is dry and sealed, personalize your jars with decorative elements. Wrap twine or ribbon around the jar necks for a rustic feel. Attach tags with handwritten labels. Use stencils for patterns or quotes. You can also glue small embellishments like buttons, beads, or dried flowers. The possibilities are endless; let your creativity flow. These simple additions will transform your painted mason jars into stunning decorative pieces that reflect your unique style. Add a personalized touch for a custom look.
Crafting Rustic Wooden Signs

Rustic wooden signs bring warmth and character to any kitchen. Display inspirational quotes or family names. Creating your own wooden sign allows you to add a touch of handmade charm to your space. This project is beginner-friendly, and the rustic aesthetic embraces imperfections. Choosing the right wood and a simple design will transform your kitchen into a farmhouse-style haven. Rustic signs are great kitchen decor craft ideas.
Choosing the Right Wood
The wood you select influences the sign’s look and feel. Reclaimed wood, such as barn wood or pallet wood, is ideal for a rustic look due to its existing character. For a smoother finish, consider pine or cedar, but you’ll need to add distressing. The size and shape should fit your message and space. Consider the wood’s thickness; thicker wood is more durable. Always sand the wood before painting for a good surface.
Designing and Painting the Sign
Sketch your design on paper before transferring it to the wood. Use stencils, freehand painting, or a projector. Choose a font that complements the rustic style. Acrylic paint is ideal for wood, drying quickly and adhering well. Apply multiple coats for full coverage. Add distressing by sanding the edges. Personalize the sign with your family name or a favorite quote.
Adding Hooks and Hangers

To hang your sign, add hooks or hangers to the back. Use D-rings, sawtooth hangers, or picture hanging wire. Attach the hardware securely, ensuring it’s centered. You can also add a shelf by gluing and screwing small wooden supports. Use screw-in or decorative metal hooks. These elements are functional and decorative.
Creating a Kitchen Herb Garden
Fresh herbs enhance your cooking and add a touch of nature to your kitchen. A kitchen herb garden can be a few potted herbs on a windowsill or a vertical garden. This project not only adds beauty but also provides fresh herbs. A well-maintained herb garden fills your kitchen with pleasant aromas. Enjoy fresh herbs every time you cook with these easy-to-maintain gardens. These are perfect kitchen decor craft ideas.
Selecting Herbs for Your Kitchen
Choose herbs you enjoy cooking with that thrive indoors. Popular choices include basil, mint, rosemary, thyme, parsley, and chives. Consider the amount of sunlight each herb needs. If you have a sunny windowsill, herbs like rosemary and basil will thrive. For less light, use mint and parsley. Research each herb’s needs for water and light. Some herbs also thrive in warm temperatures, such as basil. Make your cooking experience more exciting by choosing your herbs wisely.
Choosing Pots and Planters

Choose pots that fit your decor and provide drainage. Terracotta pots are breathable. Ceramic pots offer diverse styles. Make sure any pot has drainage holes. Consider decorative planters. You can also upcycle old containers. Choose pots of the right size for your herbs. These will make your herb garden look great.
Setting Up Your Herb Garden
Fill your pots with well-draining potting mix for herbs. Plant seedlings or seeds according to instructions. Water regularly, but avoid overwatering. Place your herb garden in adequate sunlight, typically 6-8 hours. Rotate pots for even light. Add a tray to catch excess water. These herbs will bring fresh fragrance and flavors.
Making Fabric Kitchen Accessories
Homemade fabric accessories add color, pattern, and personality to your kitchen. From kitchen towels to oven mitts, these projects are practical and pleasing. This project is a chance to show off your sewing skills. Create coordinated sets or experiment with different fabrics for a unique touch. Choose heat-resistant fabrics for oven mitts. These accessories also make great gifts. The perfect kitchen decor craft ideas.
Selecting Fabrics and Patterns

Choose durable, washable, and appealing fabrics. Cotton and linen are great for kitchen towels. For oven mitts, select heat-resistant fabrics. Consider fabrics with interesting patterns. Find patterns online or in craft stores. Choose simple patterns or more advanced ones. Wash and iron the fabric before cutting. You can mix and match patterns for variety.
Sewing Kitchen Towels and Oven Mitts
Cut the fabric pieces according to your chosen pattern. For towels, sew the edges. Add a loop for hanging. For oven mitts, follow the pattern carefully. Use a sewing machine for speed. Finish towels by hemming edges. Reinforce seams on oven mitts. Start with a simple design if you’re new to sewing. These items are great for everyday use.
Adding Personalized Touches
Add personalized touches to make your kitchen towels and oven mitts unique. Embroider initials or small designs. Use fabric paint for patterns or quotes. Sew on trims like ribbons or lace. Create a matching set for a cohesive look. These customized accessories will make your cooking more enjoyable. These are fantastic kitchen decor craft ideas.
Crafting a Decorative Utensil Holder

A decorative utensil holder keeps your tools organized and stylish. Create one from mason jars, wooden boxes, or repurposed tin cans. This project lets you upcycle and personalize your kitchen decor. Choosing the right materials and adding finishing touches transforms a simple container into an accent piece. This holder will make your cooking more organized. These are excellent kitchen decor craft ideas.
Choosing Your Materials
Consider your kitchen’s style when choosing materials. Mason jars are affordable and easy to customize. Wooden boxes offer a rustic look. Repurposed tin cans can be painted. The size should fit your needs. Make sure your material is easy to clean. Choose a design that matches your kitchen.
Assembling the Utensil Holder
Clean and decorate mason jars. Sand and stain or paint wooden boxes. Clean and dry tin cans. If using multiple jars or cans, arrange them on a wooden base or tray. Secure materials with glue or screws. Make sure it is personalized. Your utensils will be organized with these decor craft ideas.
Adding Finishing Touches
Wrap twine or ribbon around the jars or cans. Add handwritten labels. Use stencils for patterns. Decorate the wooden box or base. These touches create a cohesive look. Place your utensils in the holder. These decorative utensil holders add personality to your kitchen.
Building a Kitchen Island Organizer
A custom organizer improves your kitchen island’s functionality. Build a simple storage box or a more elaborate organizer. Building a kitchen island organizer lets you create storage tailored to your needs. Maximize your space while keeping your kitchen tidy. Get organized with a kitchen island organizer. This is another great decor craft idea.
Planning and Measuring
Measure the space on your kitchen island. Determine the dimensions of the organizer. Create a detailed plan. Consider materials like wood or MDF. Make a list of materials and tools. Choose a durable, easy-to-clean material. Remember the placement of your organizer.
Constructing the Organizer
Cut the materials according to your plan. Assemble the frame. Attach the sides, top, and bottom. If adding drawers, construct the boxes and install slides. Apply primer before painting. Apply multiple coats of paint. Consider using a finish. Assemble all parts correctly.
Adding Shelves and Drawers
Install shelves. Add drawers. Attach drawer pulls. Add dividers inside drawers. Add decorative trim. Add your kitchen items. These will add functionality and style.
Designing a Kitchen Chalkboard
A kitchen chalkboard is fun and practical. Use it for grocery lists, quotes, or messages. Create a custom chalkboard from old picture frames or wooden boards. This project is easy and customizable. The chalkboard can be both functional and decorative. They are also great for displaying menus.
Gathering Your Supplies
Gather your materials. You’ll need a wooden board or frame. Chalkboard paint is essential. You’ll need a brush, tape, and chalk. You may need a primer, sandpaper, and a frame. If using a frame, remove the glass. Gather all supplies before starting.
Creating the Chalkboard Surface
Sand the wooden board. Prime if needed. Apply chalkboard paint. Apply multiple coats. Use tape for clean lines. Season the chalkboard by rubbing chalk over the surface and wiping it off. This prepares the surface for writing.
Adding a Frame and Decorations
Add a frame if using a wooden board. Use pre-made or create your own. Attach the frame. If repurposing a frame, it’s already in place. Decorate as desired. Add stencils or paint. Hang your chalkboard in your kitchen and enjoy. These are excellent decor craft ideas.
These DIY kitchen decor crafts offer a fantastic way to personalize your kitchen. These projects, from painted mason jars to custom organizers, suit various skill levels and styles. Whether you are a beginner or an expert, these crafts provide a way to create beauty and functionality. Enjoy the process and transform your kitchen into a space that reflects your style.